A measured survey is a scaled record of a building as it stands today, not as the old drawings say it was built. Architects, surveyors and renovation teams use it as the base for every design decision that follows, so an error made on site travels into every drawing after it.
This guide covers the interior part of a measured survey: the floor plans, the openings and the heights that most refurbishment and fit-out projects start from. It sets out the order that makes a survey close when you draw it up, the checks to run before you leave the building, and where a 2D laser scanner saves the most time.
In the US the same job is usually called an as-built survey. If you need the background on why existing conditions differ from old plans, read our guide to as-built measurements first; this article is about doing the survey itself.
What a measured survey delivers
A full measured building survey usually produces three kinds of drawing, and each one needs different data from site. Knowing which ones the project actually needs decides what you measure and which tools you bring.
| Drawing | What it shows | Data you collect on site | Typical tool |
|---|---|---|---|
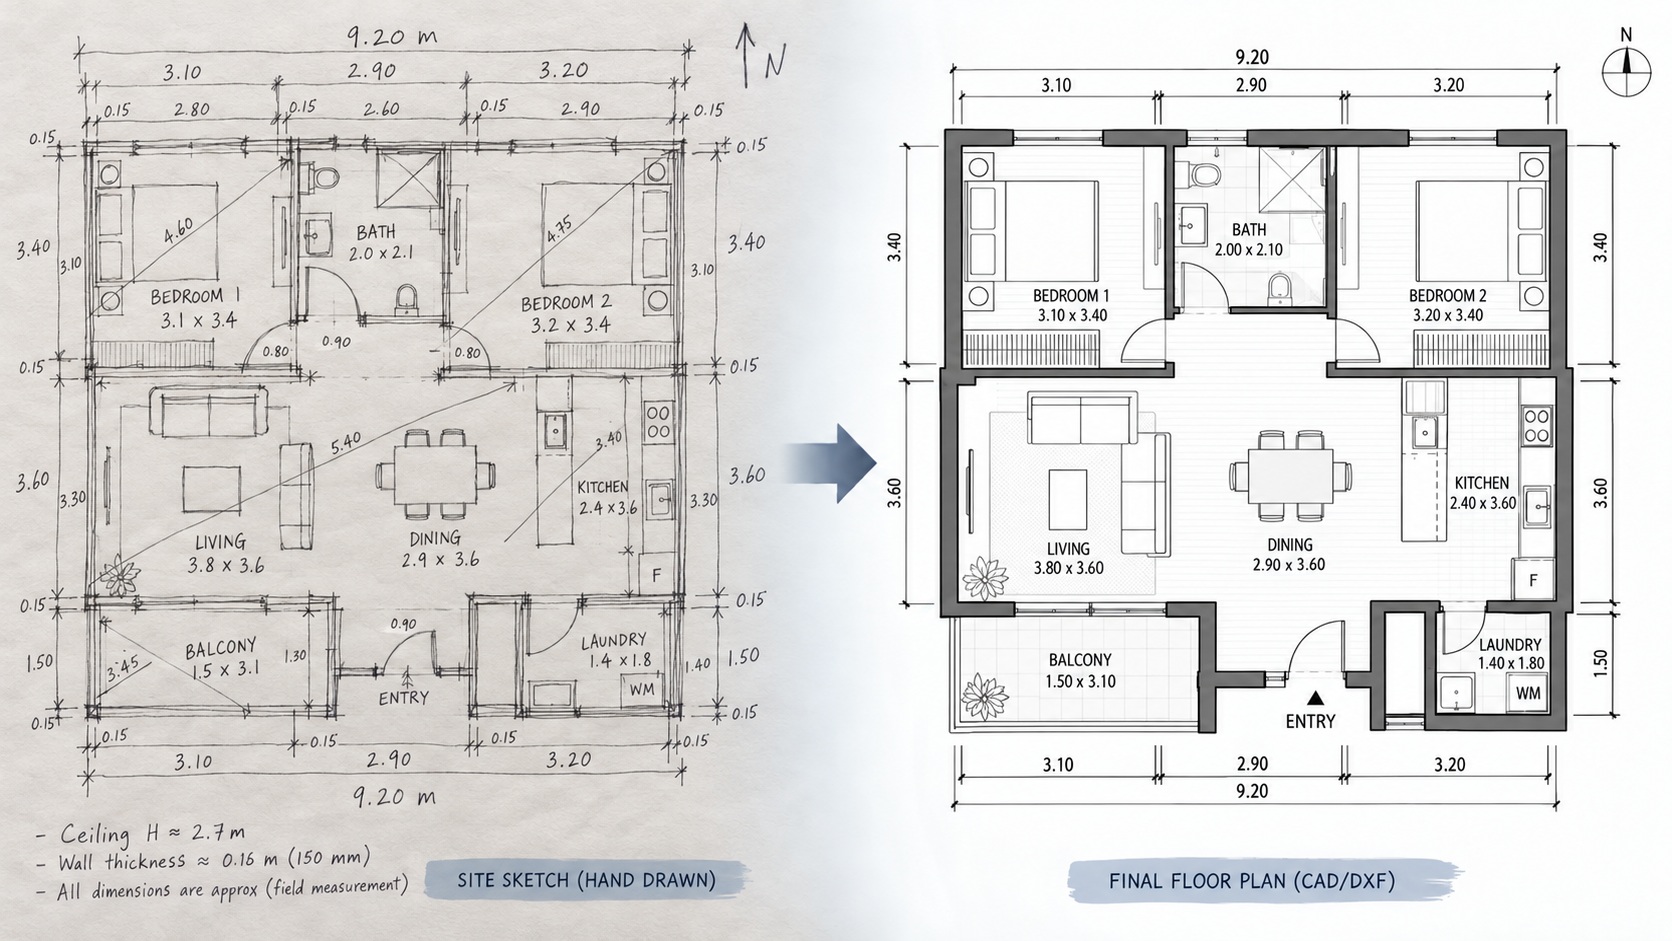
| Floor plans | Walls, corners, angles, openings, columns and fixed fittings on each level | Room outlines, wall thicknesses, door and window positions, links between rooms | 2D laser scanner, or laser distance meter and sketch |
| Elevations | Each face of the building, inside or outside, with openings and levels | Heights, sill and head levels, positions along each wall, photos square on | Laser distance meter, photos, total station outside |
| Sections | A vertical cut through the building: floor-to-ceiling heights, slabs, stairs, roof | Ceiling heights in several places, floor levels, stair rise and going | Laser distance meter, level, 3D scanner for complex cases |
Most interior refurbishment, kitchen and fit-out projects need accurate floor plans first and only a few key heights. Elevations and sections are drawn when the design changes the building’s faces or levels, and they are worth agreeing with the client before the site visit, not after.
How to do the survey, step by step
The order below keeps every room tied to the next, so the plan closes when you draw it up. Skipping the links between rooms is the most common reason a survey needs a second visit.
Step 1: Prepare before the visit
Get any existing drawings, even old ones, and print a rough sketch of each level to write on. Agree with the client which drawings they need, at what scale, and which rooms are in scope.
Charge everything the night before and pack a spare battery. Bring a laser distance meter, a tape for short checks, a tripod if your scanner uses one, a camera, and a few paper targets or stickers for long walls the laser cannot see well.
Step 2: Work room by room in a fixed order
Pick a starting room, usually the entrance or the main corridor, and move through the building in one direction. Give every room a number on your sketch before you measure it, so photos, notes and scans can be matched later.
For each room, record the full outline: every wall length, every corner and its real angle. Old buildings are rarely square, so never assume 90 degrees; measure the angle or check the diagonals.
Step 3: Record every opening in full
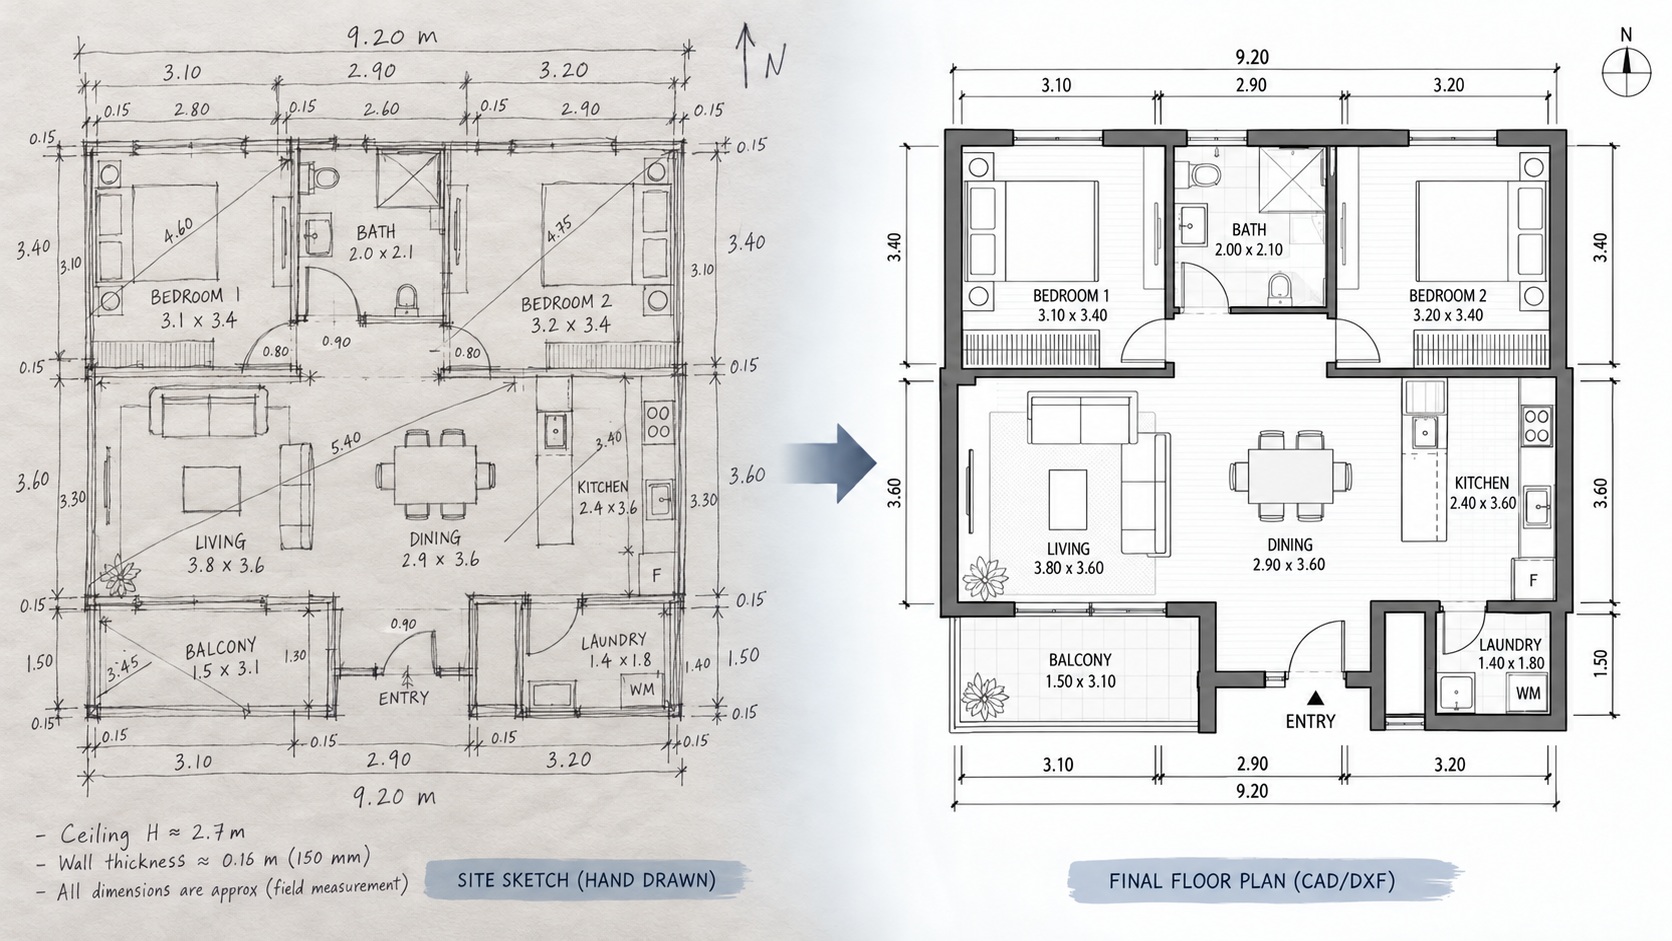
For each door and window, record its position along the wall, its width, and the wall thickness at the reveal. Note which way doors open and the sill and head heights of windows if elevations are in scope.
Wall thickness is the measurement that ties two rooms together. Without it, rooms drawn separately will not meet in the middle of the plan.
Step 4: Take heights in more than one place
Measure floor-to-ceiling height in at least two places per room, more in older buildings where floors and ceilings slope. Add heights of beams, bulkheads, soffits and changes of floor level, as these are what designers trip over later.
Step 5: Connect the rooms
Tie each room to its neighbour through a shared doorway, a common wall or a fixed point both rooms can see. In a corridor layout, measure the corridor as its own space and hang the rooms off it.
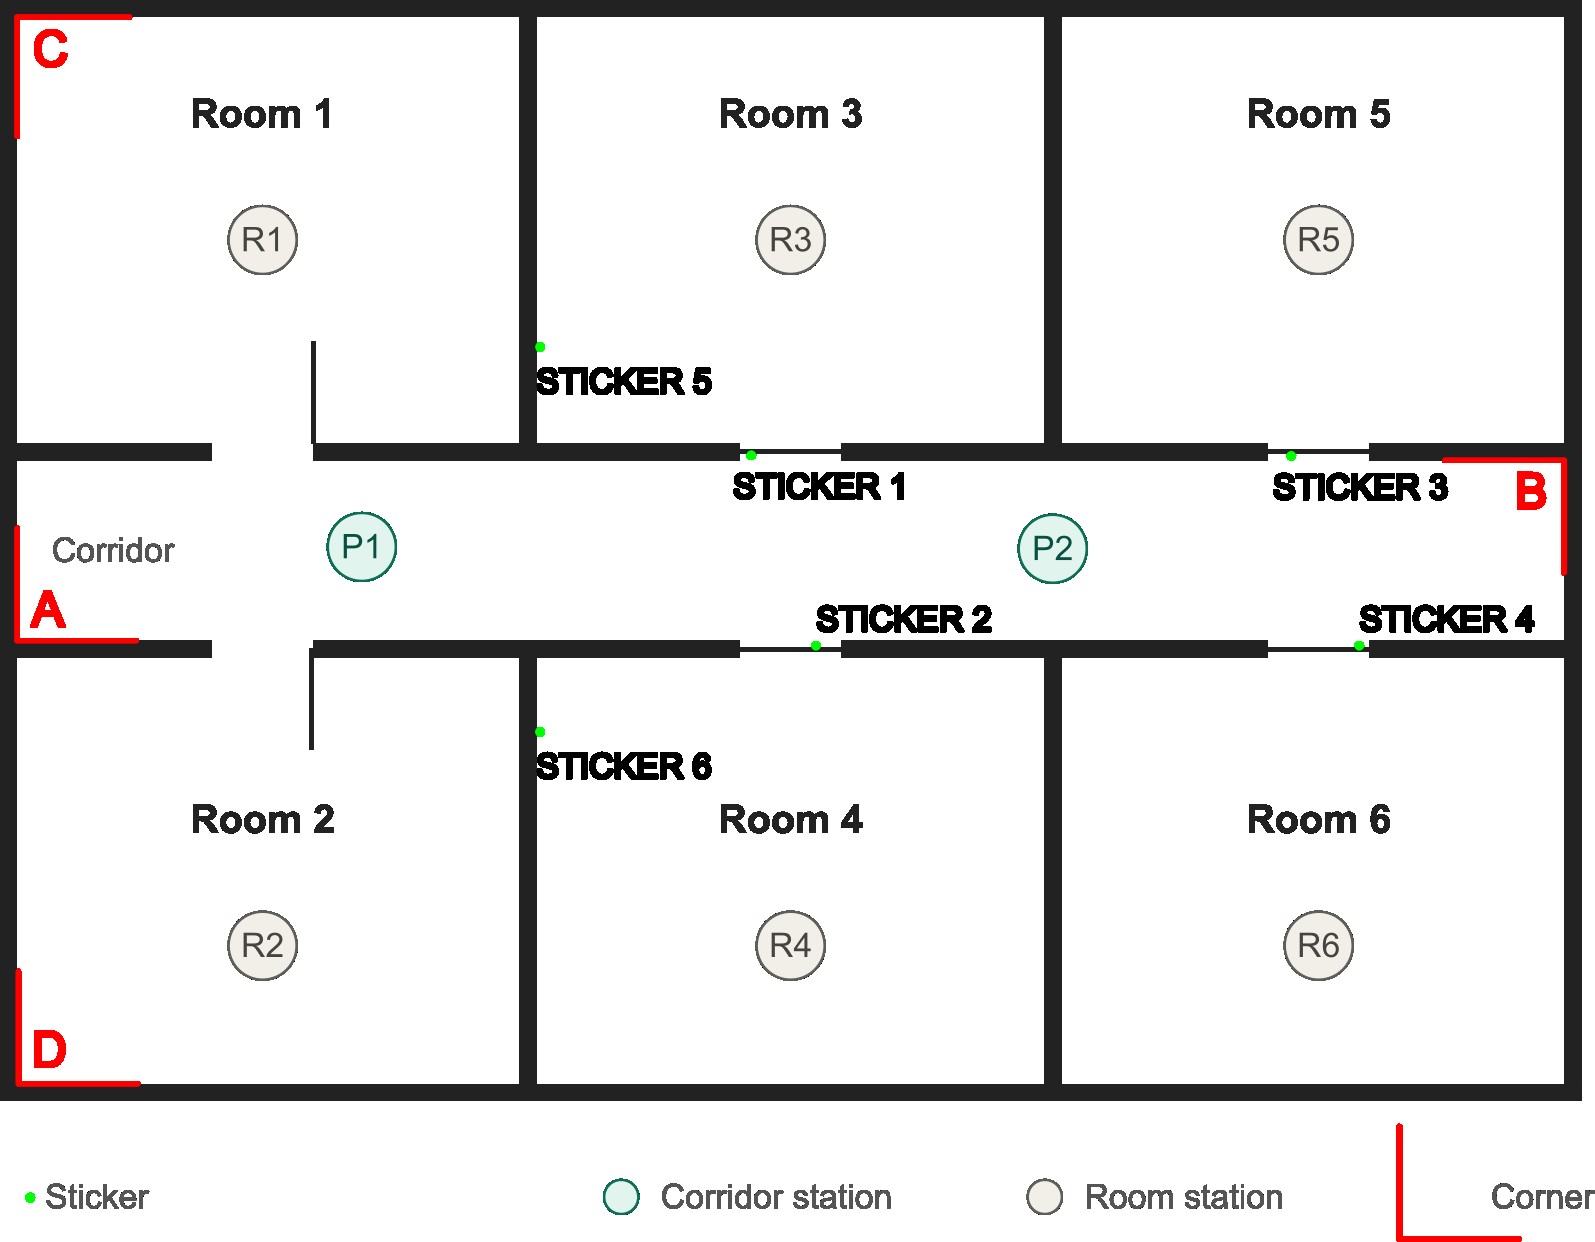
This is also where most plans go wrong: each room is right on its own, but the building is not. Our corridor apartment example shows one way to link rooms through shared points.
Step 6: Run the closure check before you leave
Add the room widths and wall thicknesses along one line of the building and compare the total with one overall measurement of the same line. If the two differ by more than your tolerance, find the error while you are still on site.
Check at least one line in each direction on every level. It takes ten minutes and saves the cost of a return visit.
Step 7: Photograph and label
Photograph each room from the door and each wall square on, plus any detail you could not measure, such as pipework, sockets or damaged areas. Name photos and files by room number, so the survey still makes sense a week later in the office.
Survey methods compared
The floor plan is usually the slowest part of an interior survey, and the method you choose decides how long each room takes. Times below are for one average room, measured and recorded, before drawing up.
| Method | Time per room on site | What you take back to the office | Main risk |
|---|---|---|---|
| Tape and sketch | 45-60 min | Numbers written on a hand sketch | Missed or misread dimensions; angles assumed |
| Laser distance meter and sketch | 30-45 min | Distances on the sketch, angles by diagonals | Diagonals hide bowed walls and soft corners |
| Laser distance meter with app | 25-40 min | A dimensioned sketch on the phone | Still point by point; complex rooms take long |
| 2D laser scanner | 5-10 min | The complete room outline as a DXF floor plan | Needs a clear line of sight from one or a few positions |
| 3D laser scanner | 30 min and more, plus processing | A point cloud of every surface, often several GB | Time and file size are high for plan-only work |
For floor plans of interiors, the 2D scanner gives the full outline, real angles included, in the time a manual method takes for two walls. A 3D scanner is the right choice when elevations, sections or complex geometry are in scope, and our 3D vs 2D comparison covers when that is the case.
Where a 2D laser scanner fits in a measured survey
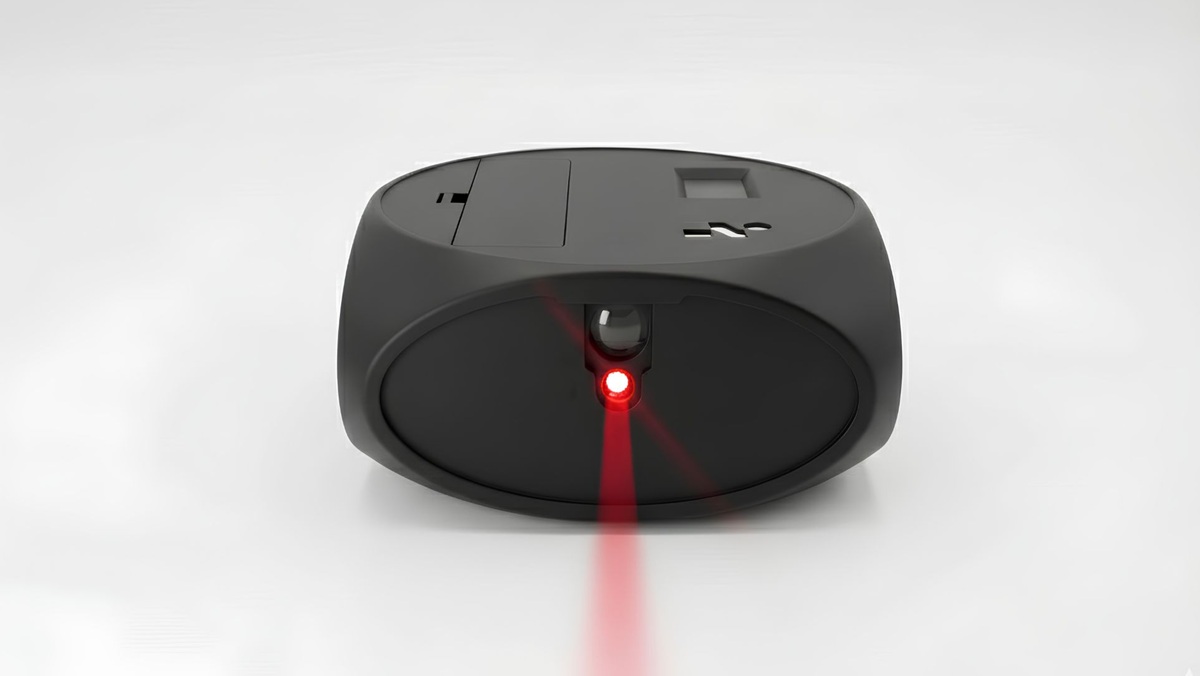
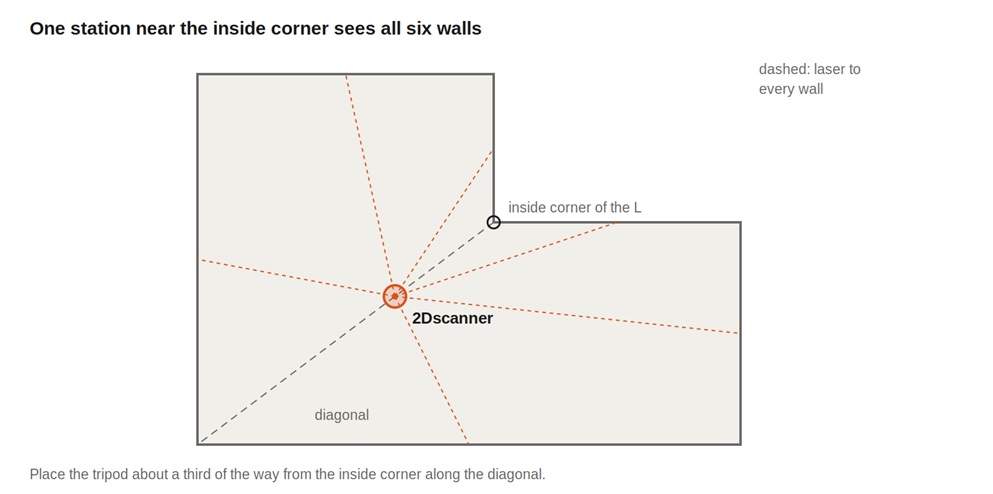
A 2D laser scanner takes over Steps 2, 3 and 5: the room outline, the openings and the links between rooms. Placed in a room, it rotates and measures up to 2,000 points around the walls, so corners and angles come from measurement, not from assumption.

- Speed: about 4 minutes for a 2,000-point scan, 2.5 minutes for 1,000 points, and around 1.5 minutes with Smart Scan in simple rooms.
- Accuracy: ±2 mm on walls within 7 m, up to ±3 mm on dark or glossy surfaces; maximum range 40 m.
- Output: an editable DXF floor plan on the phone, ready to open in CAD without redrawing.
- Linking rooms: scans are joined through common corners or alignment stickers, which replaces the manual tie measurements of Step 5.
What it does not do is just as important for planning the visit. It measures in one horizontal plane, so ceiling heights, sill heights and levels (Step 4) still need a laser distance meter such as the Bluetooth ERA1D, and elevations and sections need their own survey.
On a typical refurbishment, that split means the scanner covers the plan while a distance meter and a camera cover heights and details. The closure check in Step 6 still applies: a scanned plan removes the assumed angles, but a missed link between two rooms still shows up only when you add the line up.
Common mistakes in a measured survey
- Assuming square corners. Older buildings are often several degrees out, and the error grows along every wall drawn from that corner.
- Measuring rooms but not the walls between them. Without wall thicknesses, rooms that are correct on their own will not fit together on the plan.
- One ceiling height per room. Sloping floors and ceilings are common in older buildings; two or three heights per room show it.
- No overall check. Without an overall dimension per level, there is no way to find an error until the drawing does not close.
- Unlabelled photos. A photo you cannot place in the building is no help when a dimension is missing.
Common questions
What is the difference between a measured survey and an as-built survey?
They describe the same job: recording a building as it exists today. Measured survey is the usual term in the UK, as-built survey in the US, and both can include plans, elevations and sections.
How long does a measured survey of a house take?
With tape or a laser distance meter, allow 30-60 minutes per room for the plan alone, plus heights and photos. With a 2D laser scanner the plan takes 5-10 minutes per room, so a typical house plan can be captured in a few hours.
What accuracy does a measured survey need?
It depends on the drawing scale and its use. Plans for space planning at 1:100 can carry a few centimetres of error; drawings for fitted kitchens, joinery or glazing need millimetres, which is why angles and closure checks matter.