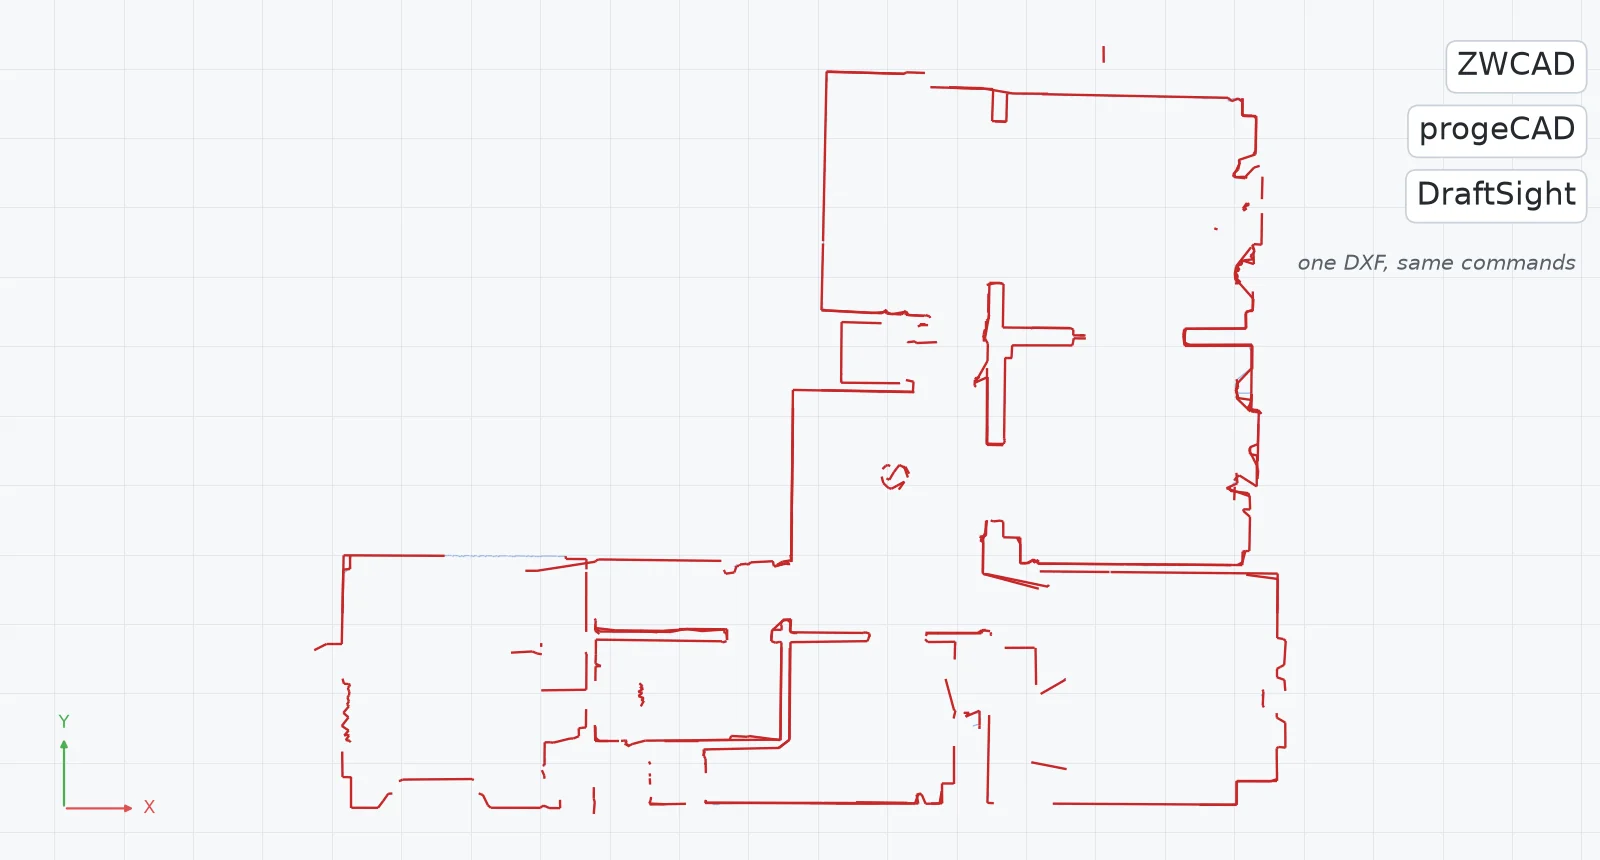
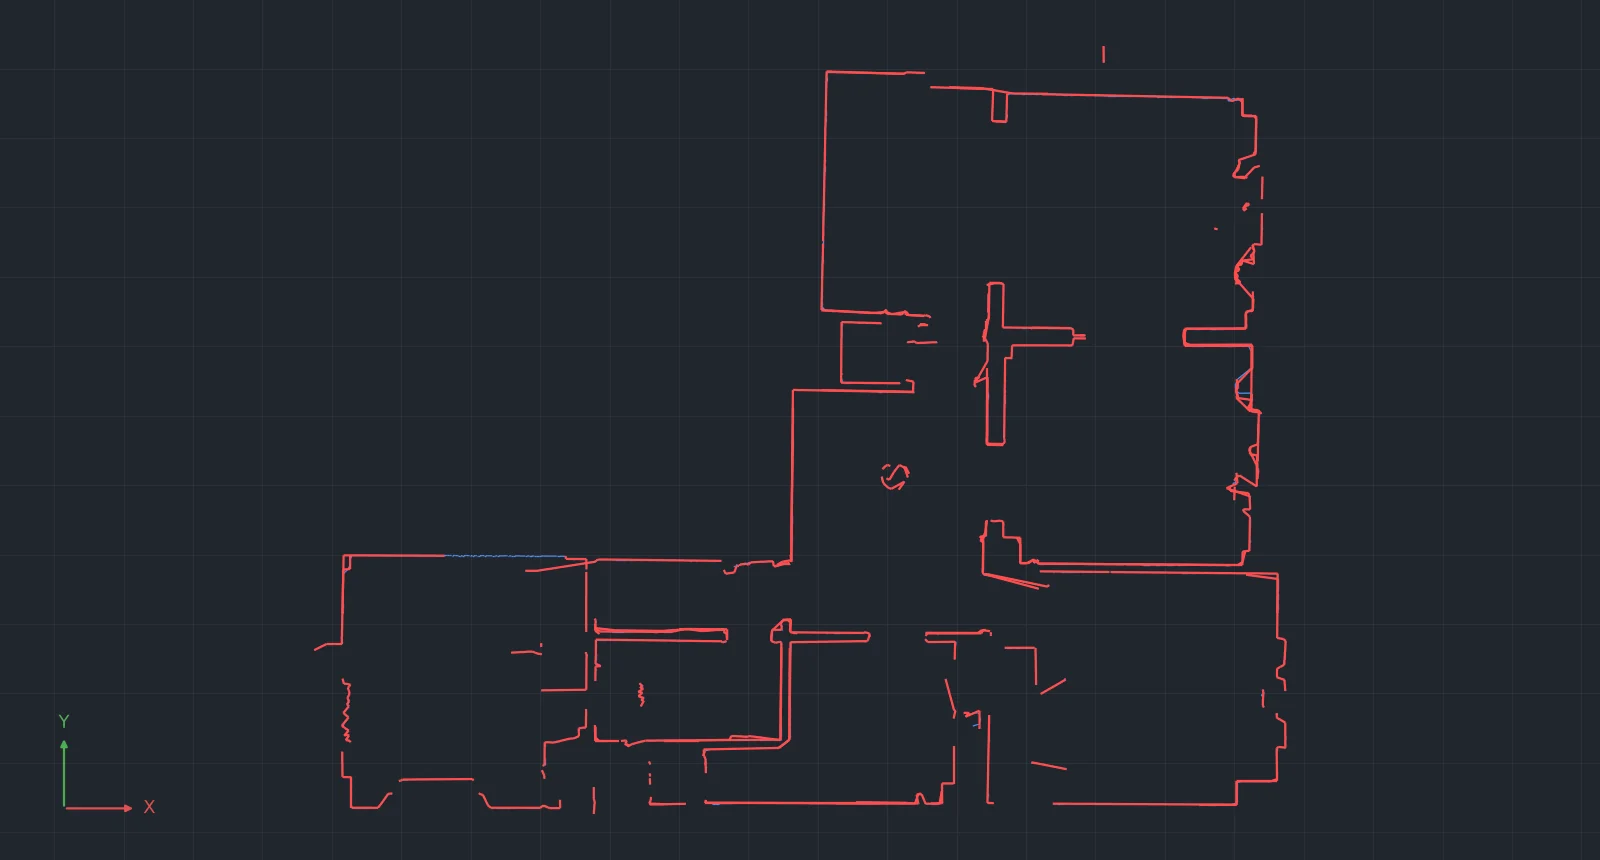
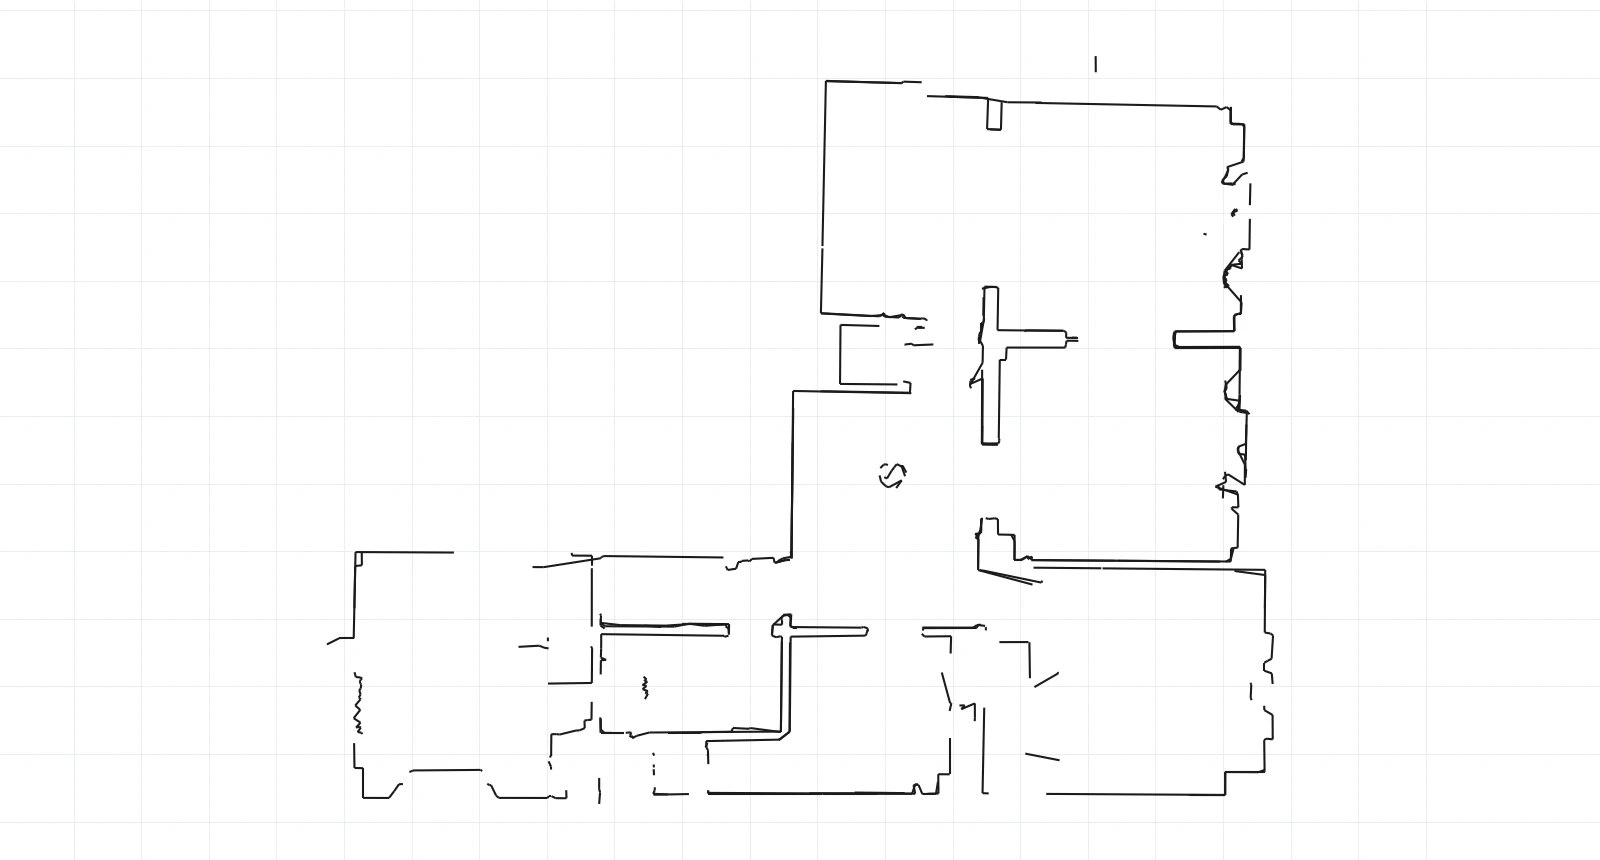
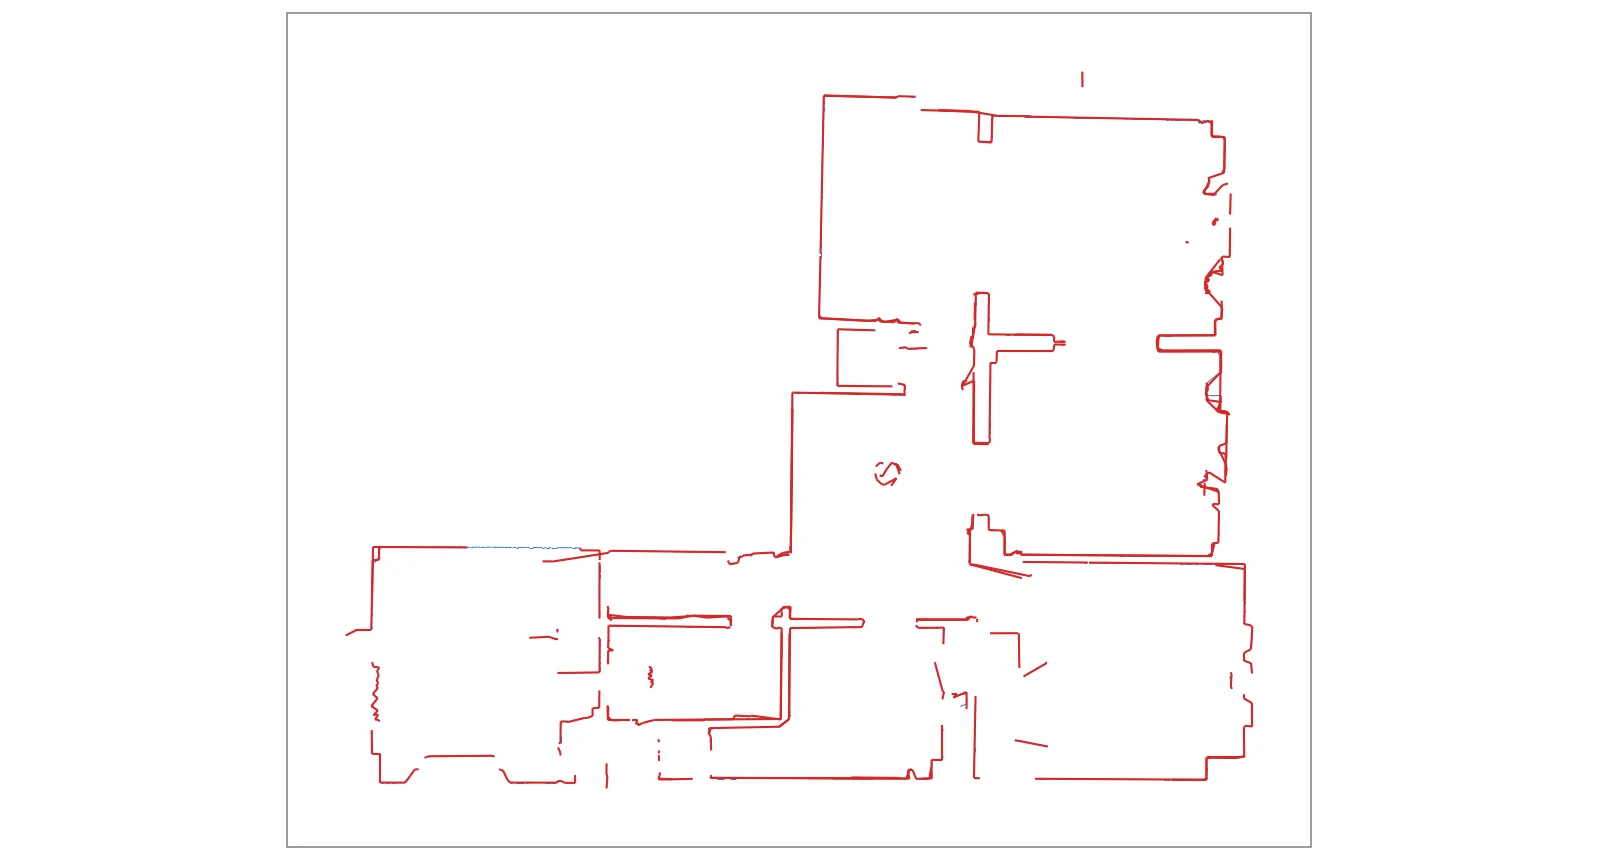
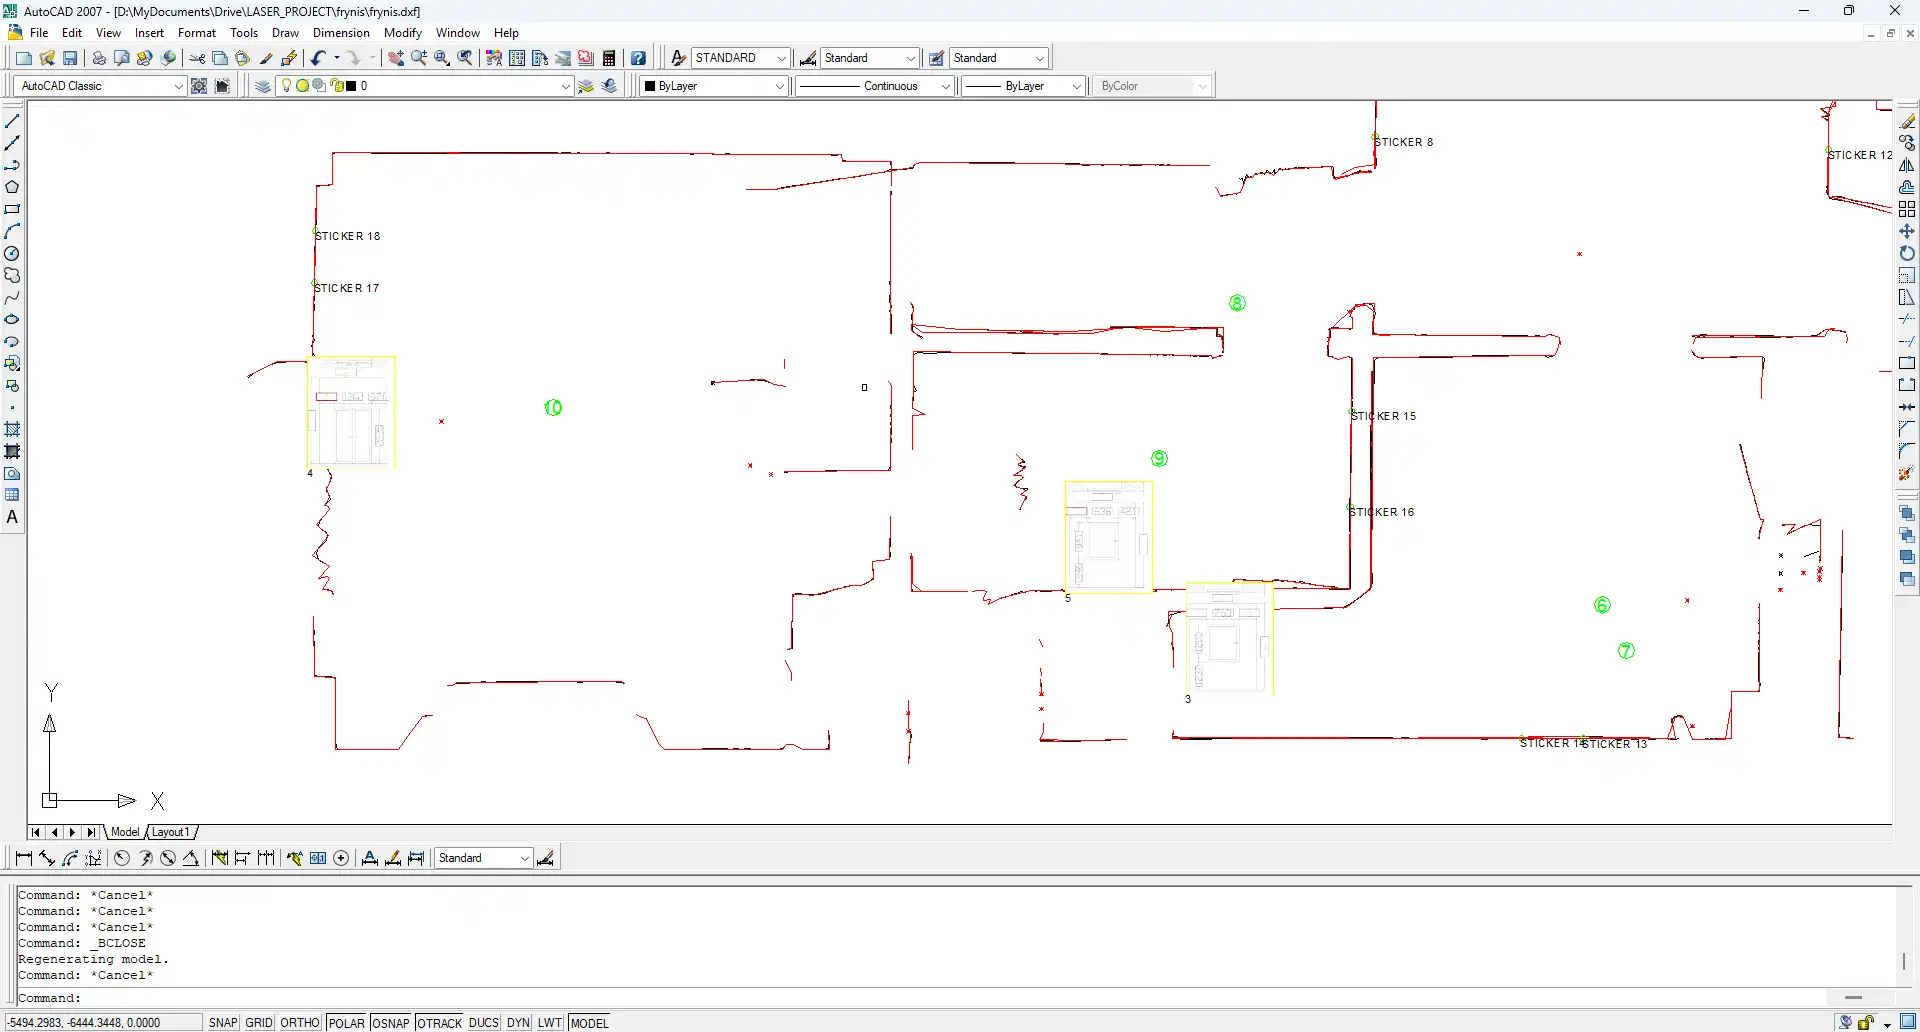
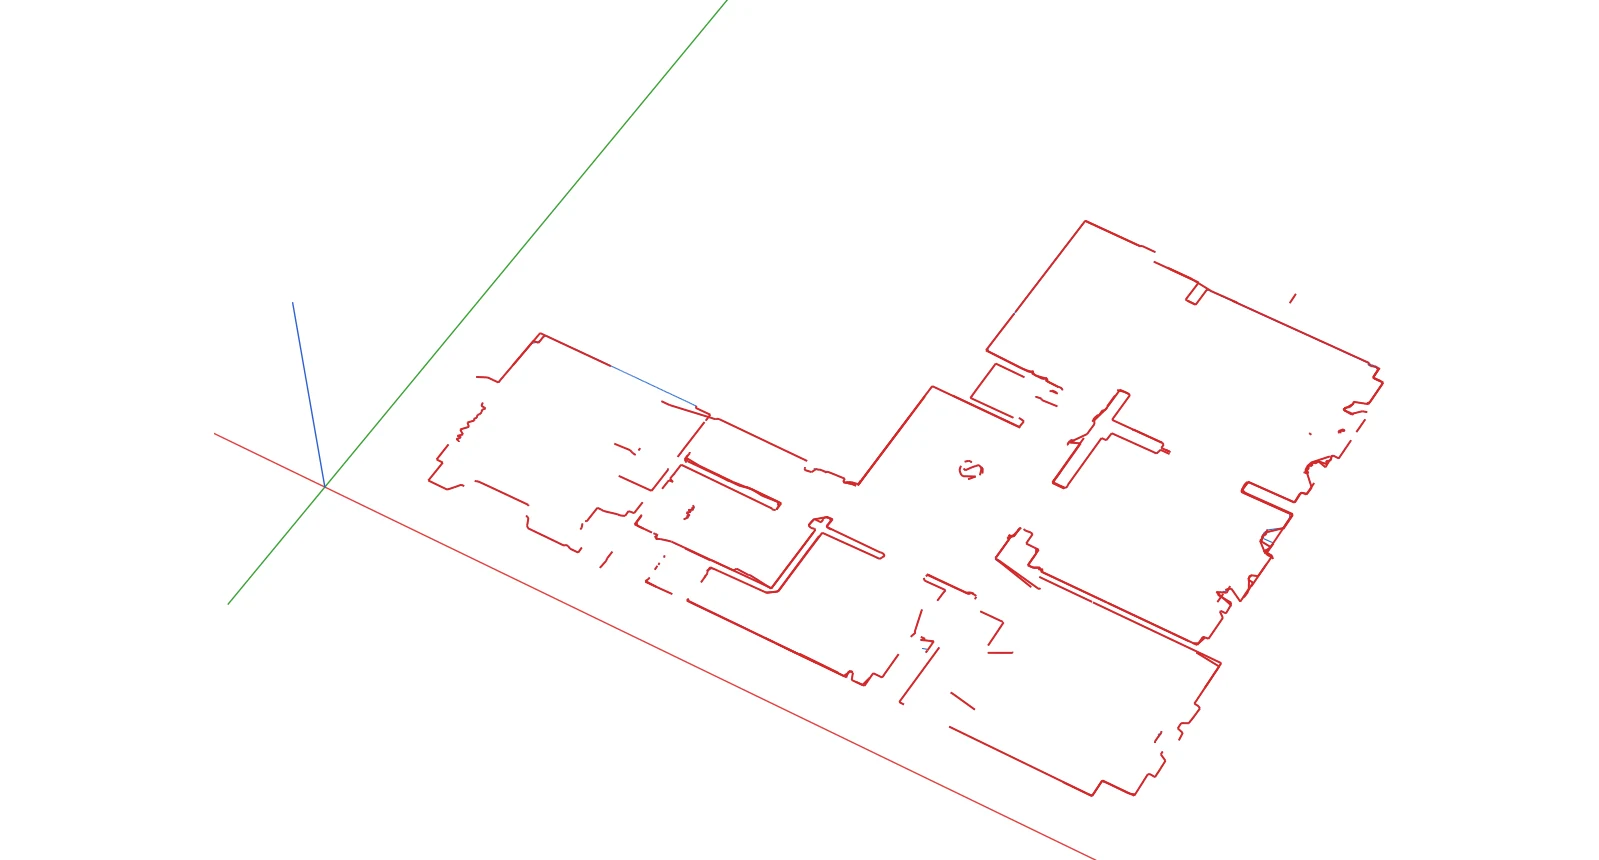
To import a DXF into SketchUp, go to File > Import, choose AutoCAD Files, set the scale in Options to the units of your export and click Import. The 2Dscanner plan arrives at real size, each scan as its own component and each 2DS_ layer as a tag.
The room scan on site and the other export files are covered in our 2D scanner for CAD guide. This page starts when the DXF is on your computer and ends with walls you can push up into 3D.
What do you need?
| SketchUp plan | A paid subscription. SketchUp Pro on Windows or Mac imports DWG and DXF. SketchUp for Web imports them only with a subscription, not on the free plan. |
|---|---|
| The file | A DXF from the 2DscannerPro App or the 2Dscanner Editor (AutoCAD 2007 DXF) |
| Units | The DXF stores its unit, but SketchUp does not read it. Note the unit you exported in (Editor: Settings > DXF Settings) and enter the same one when you import. |
| Photos | Keep the image files next to the DXF, in the same folder, so SketchUp can find them |
How do you import a DXF into SketchUp, step by step?
- Start from a new model with a template in millimetres or metres.
- Open the importer. Select File > Import and set the file type to AutoCAD Files (*.dwg, *.dxf).
- Click Options before importing. Under Scale, choose the unit you exported in, for example Millimeters. This is the step that matters most: SketchUp sizes the plan only by this setting, not by the unit written in the file. Tick Preserve Drawing Origin if you will bring in more files of the same building, so they line up. Under Text, choose Native SketchUp Text to keep the labels of your stickers and notes, or None to leave them out.
- Click OK, then Import. SketchUp reports what it brought in.
- Look at it from above. Camera > Standard Views > Top, then Camera > Parallel Projection, then Zoom Extents (
Shift+Z). - Check one wall. Measure a wall you know with the Tape Measure tool. If it is 10, 100 or 1000 times off, the Scale in Options did not match the export unit: undo and import again.
The plan is easier to work with if a wall already runs along the red or green axis. The app and the Editor can both rotate the plan that way before export, which saves turning it in SketchUp.
What does the 2Dscanner DXF become in SketchUp?
| In the DXF | In SketchUp |
|---|---|
Each scan, a block named SCAN_number_time | A component with the same definition name |
| The whole file | In a new, empty model, the scans side by side as in the DXF. In a model that already has geometry, SketchUp wraps the import in one component. |
The 2DS_ layers | Tags with the same names |
| Fitted lines and point polylines | Edges |
| Sticker labels and notes | SketchUp text, if you chose Native SketchUp Text |
| Photos and ERA1D measurements | Images in recent versions, when the files sit next to the DXF. Older versions skip some or all of them. |
What each 2DS_ layer holds is explained in our Scan to AutoCAD guide. In SketchUp you mostly need three of them: 2DS_LINES to trace, 2DS_OPENINGS for windows and doors, and 2DS_NOTES for what you wrote on site.
Open the Tags panel and click the eye next to 2DS_POINTS, 2DS_ORIGIN and 2DS_SIGNAL to hide them. Like layers in CAD, tags work inside components, so one click hides them in every scan.
How do you handle the scan components?
SketchUp turns every AutoCAD block into a component, named after the block, so each scan arrives as its own component, side by side as in the DXF. One click selects a scan, and Move or Rotate takes the whole scan with it. Its name, SCAN_number_time, appears as the Definition in Entity Info. If you import into a model that already has geometry, SketchUp first wraps the whole import in one component: double-click it to reach the scans.
Before you start drawing, select the scans, right-click and choose Lock. A locked scan cannot be moved by accident while you trace over it, and you can still snap to its lines.
To change something inside a scan, the SketchUp way of AutoCAD’s block editor is to edit the component in place: double-click the scan, or right-click it and choose Edit Component. The rest of the model fades, you change lines or points, and Esc or a click outside closes it. Unlock the scan first if you locked it. Right-click and Explode also works, but the scan stops being one object. Cleaning up points is faster in the Editor, where you delete points directly and the fitted lines are redrawn, as the File Menu page explains. Then import again.
Two files of the same building. Import the second file into the same model with Preserve Drawing Origin ticked. Better still, join the scans in the app or the Editor first, where they align on corners, stickers or two straight lines.
How do you turn the scan into 3D walls?
The scan lines are not closed shapes. They stop at doors, windows and furniture, so Push/Pull has no face to grab. You draw the walls yourself on top, tracing the floor plan, which takes a few minutes per room:
- Make a tag for your walls and set it as the active tag, so your geometry stays apart from the scan.
- Trace the inside of each room with the Line or Rectangle tool, snapping to the endpoints of
2DS_LINES. When the outline closes, SketchUp fills it with a face. - Give the walls their thickness. Between two scanned rooms you do not need to guess: the gap between the lines of the two scans is the real wall thickness, so trace both sides. For outside walls, use the Offset tool by the thickness you know.
- Push/Pull the wall faces up to the ceiling height you measured.
- Cut the openings. Windows and doors measured with the ERA1D are already on
2DS_OPENINGS, at their real position and width.
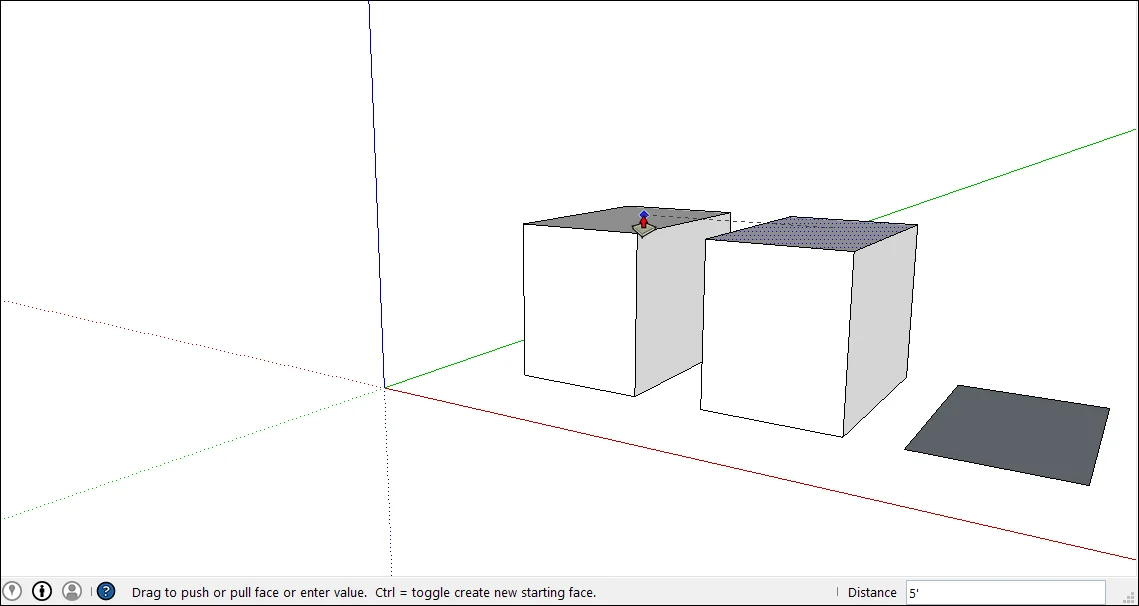
Keep the scan visible under your model until the end. It is your measured reference, and you can check any wall against it with the Tape Measure tool.
Why does the import look wrong?
| What you see | Likely cause | Fix |
|---|---|---|
| No AutoCAD Files option in Import | The free plan of SketchUp for Web does not import DWG or DXF | Use SketchUp Pro or a subscription plan |
| Import failed, or an error message | The DXF is still inside the ZIP, or it is open in the Editor or another program | Extract the ZIP, close the file in the other program and import again |
| Plan is 10, 100 or 1000 times too big or too small | The Scale in Options did not match the export unit. SketchUp ignores the unit stored in the DXF. | Import again with the right unit, or resize with the Scale tool (FAQ below) |
| Plan is far away from the axes | Preserve Drawing Origin kept the position of the scanner | Import with it unticked, or move the scans to the origin |
| Room is small even after Zoom Extents | A few long shots through a door or window stretch the drawing | Zoom in on the room. To drop the far points before export, use Ignore Long Shots, in the app while scanning or in the Editor |
| Model is slow | Thousands of short edges from the point polylines | Hide 2DS_POINTS, or export with fewer layers |
| Photos are missing | The image files are not next to the DXF, or your SketchUp version does not import CAD images | Unzip the whole export into one folder and import again. If they are still missing, open the photos from the export folder, or import them with File > Import as images |
FAQ
Why does my DXF come into SketchUp at the wrong scale?
Because SketchUp does not use the unit stored in the DXF. It uses only the unit chosen under Scale in the import options, and if that does not match your export, the plan arrives 10, 100 or 1000 times off. It is the most common SketchUp import complaint on the forums, with every kind of DWG and DXF. The sure fix is to undo and import again with the right unit. If you have already worked on the plan, select all the scans, start the Scale tool, grab a corner handle and type the factor, for example 0.001 for a plan that is 1000 times too big, then press Enter.
Do I need a plugin or a DXF to SKP converter?
No. SketchUp Pro, and SketchUp for Web with a subscription, import the DXF directly with File > Import, and you save the result as an SKP model. Import plugins and online converters were needed only in old free versions such as SketchUp Make 2017, which could not import DXF.
Can I import a DXF into SketchUp for Web?
Yes, with a subscription. On the free plan, SketchUp for Web imports only SketchUp models and images.
Does it work the same on Mac?
Yes. SketchUp Pro for Mac has the same File > Import menu and the same options.
Can I put the scan straight into LayOut?
Yes, LayOut imports DWG and DXF too. For a 3D model, bring the scan into SketchUp first and send the model to LayOut.
How accurate are the walls I draw?
As accurate as the lines you snap to. The combined accuracy of the 2Dscanner is ±2 mm within a 7 m radius, on walls the laser meets at more than 34°.
Do the guides for other programs differ?
Only in the import step and the wall tools. See our guides for AutoCAD, Revit, Archicad, BricsCAD and ZWCAD, progeCAD and DraftSight.
Try it yourself: download the sample 2Dscanner DXF (ZIP, the plan at the top of this page) and import the DXF into SketchUp with the steps above.
The plan on this page was measured with the 2Dscanner EVO. One scan takes about four minutes and gives you the room as a DXF that SketchUp imports at real size. No tape, no diagonals, no redrawing from a sketch, and no subscription.
If you want to stop measuring by hand, see the 2Dscanner EVO and what comes with it.
For every setting of the 2DscannerPro App and the Editor, step by step, see the 2Dscanner help pages.