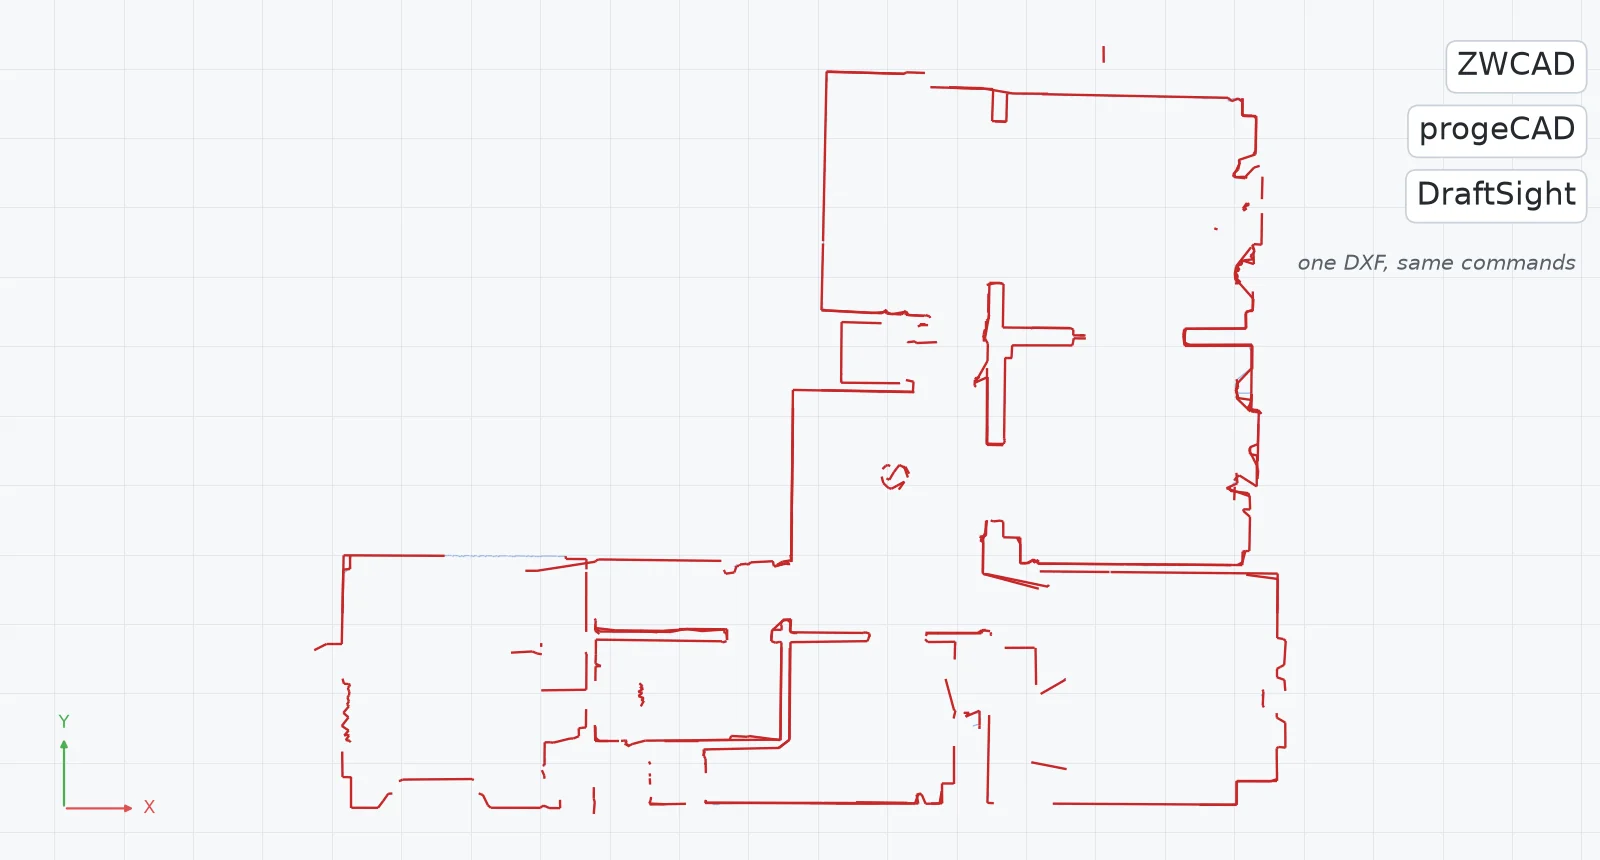
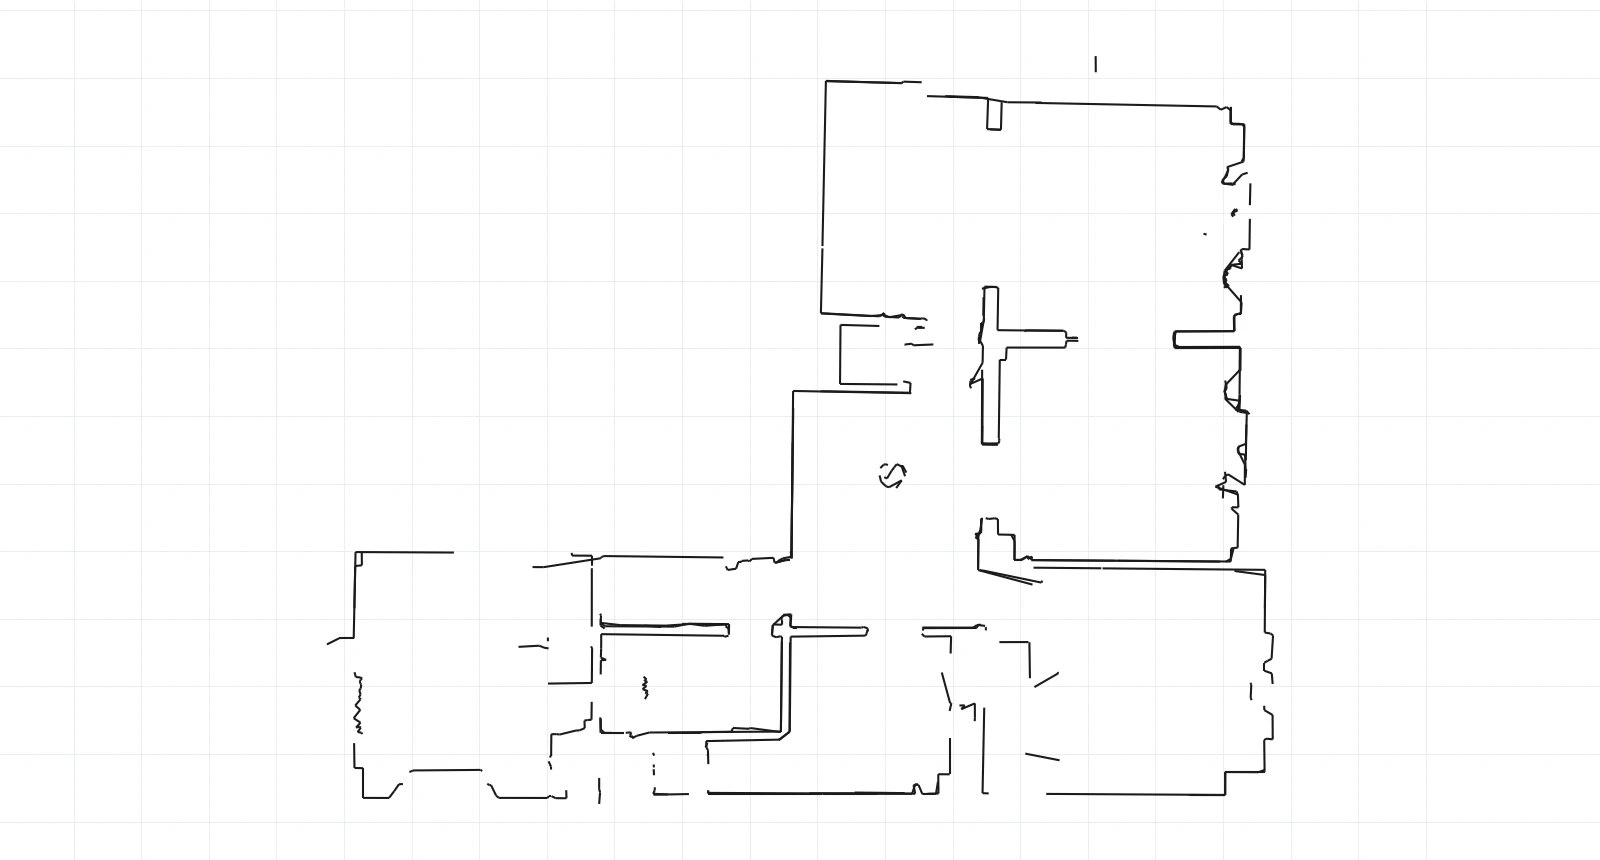
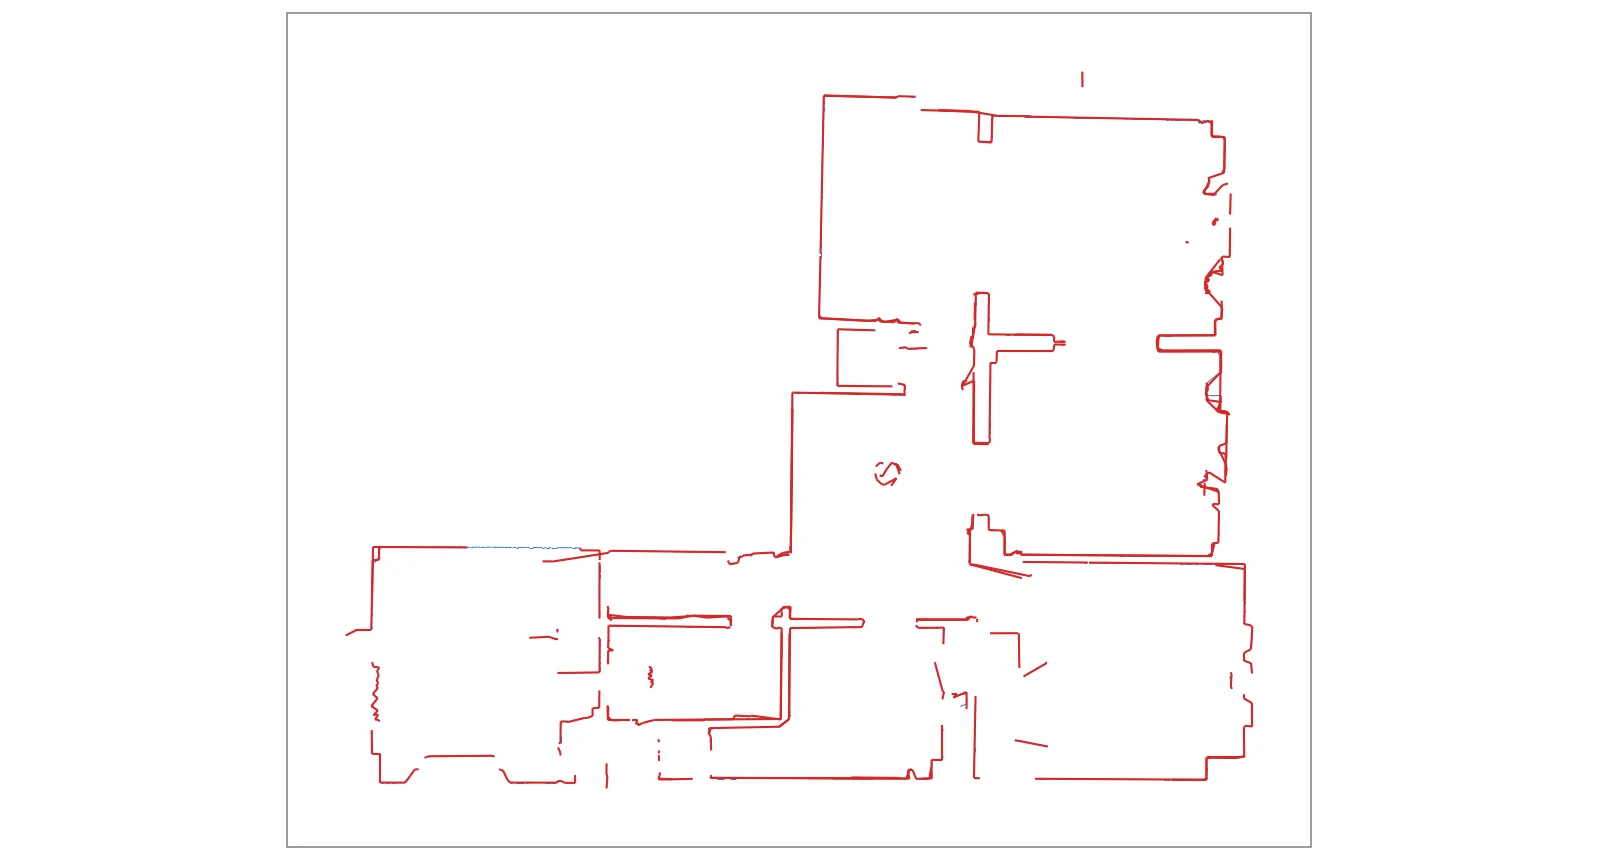
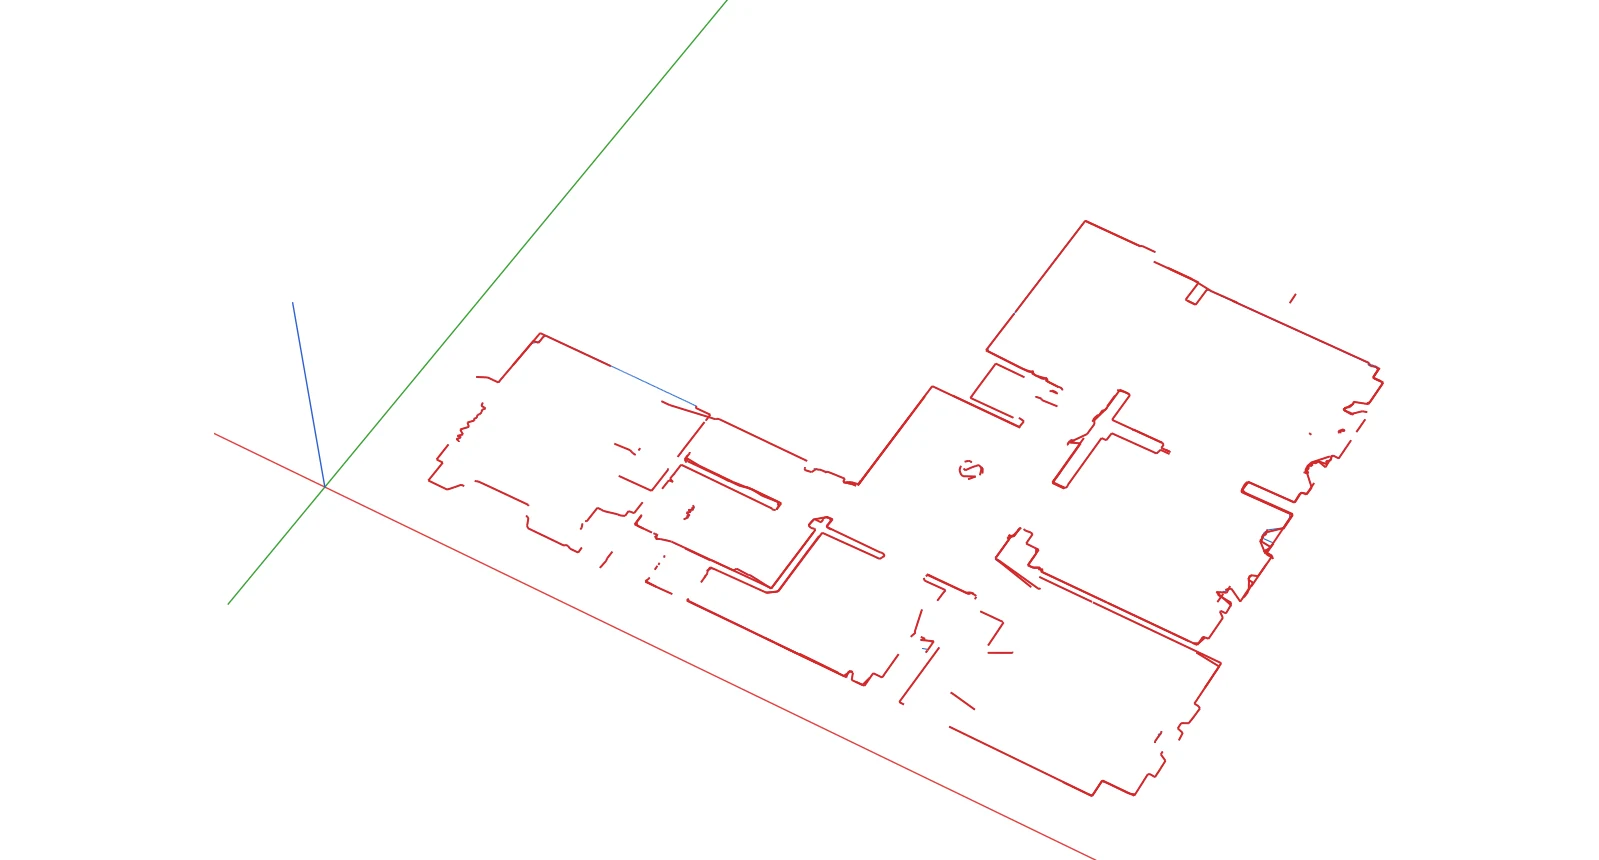
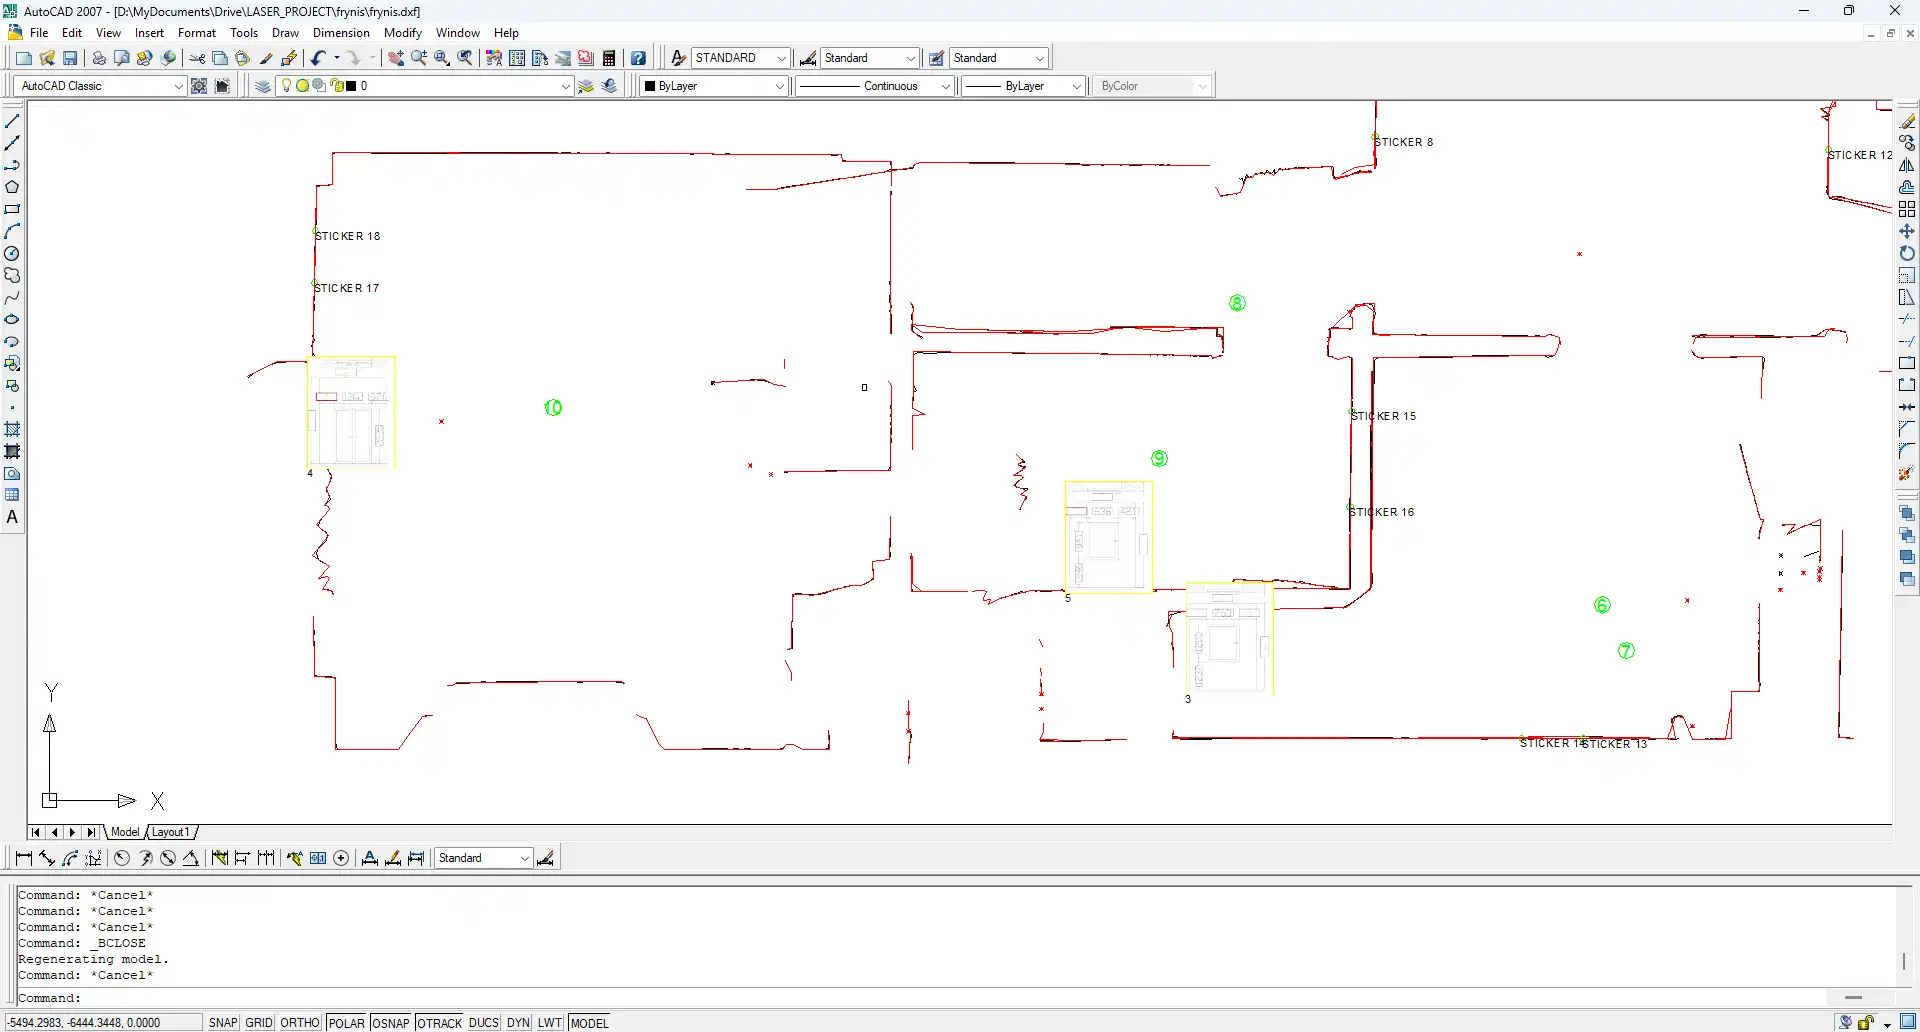
To import a DXF into BricsCAD, open it with OPEN like any drawing. BricsCAD reads DXF directly, from BricsCAD Lite up, and the 2Dscanner plan comes in at real size, with each scan as its own block and every element on a layer that starts with 2DS_.
The work on site and the other export files are covered in our 2D scanner for CAD guide. BricsCAD works much like AutoCAD, so our Scan to AutoCAD guide applies here too. This page covers what is specific to BricsCAD, from opening the file to walls on the measured lines.
What do you need?
| BricsCAD edition | Lite is enough to open the DXF, use the layers and blocks and trace in 2D. Pro adds 3D solids such as POLYSOLID. BIM adds the wall tools BIMWALL and Quickdraw. |
|---|---|
| The file | A DXF from the 2DscannerPro App or the 2Dscanner Editor (AutoCAD 2007 DXF). The app also exports CSV and TXT; this page uses the DXF. |
| Units | Stored in the DXF (mm, cm, m or inch). OPEN keeps the coordinates as they are. INSERT converts the scan to the units of your drawing. |
| Photos | Keep the image files next to the DXF, in the same folder, so BricsCAD can find them |
How do you import a DXF into BricsCAD, step by step?
- Open the file. Type
OPEN, set the file type to Drawing Exchange Format (*.dxf) and choose the DXF. It opens in a new document tab. - Bring it on screen. Type
ZOOM, thenE. - Save as DWG. Use
SAVEAS, so you work in a proper drawing and keep the DXF untouched as your measured original. - Tidy the layers. Freeze the ones you do not need and lock
2DS_LINES, so it cannot move while you draw. Snaps still work on locked layers. - Check one wall. Measure a wall you know with
DIST.
The plan is easier to work with if a wall already runs along the X or Y axis. The app and the Editor can both rotate the plan that way before export. In BricsCAD, use ROTATE with the Reference option.
Open, insert or attach?
| OPEN | INSERT | XATTACH | |
|---|---|---|---|
| What you get | The DXF as its own drawing, in a new tab | The whole DXF as one block in your project drawing | A reference to an external drawing |
| Units | Coordinates stay as they are | Block unit converts the scan to the units of your drawing | The same Block Unit setting |
| Each scan | A SCAN_ block | Inside the outer block. Tick Explode to get the scan blocks directly. | Inside the reference |
| Takes a DXF? | Yes | Yes, through Browse | Documented for DWG: save the DXF as DWG first |
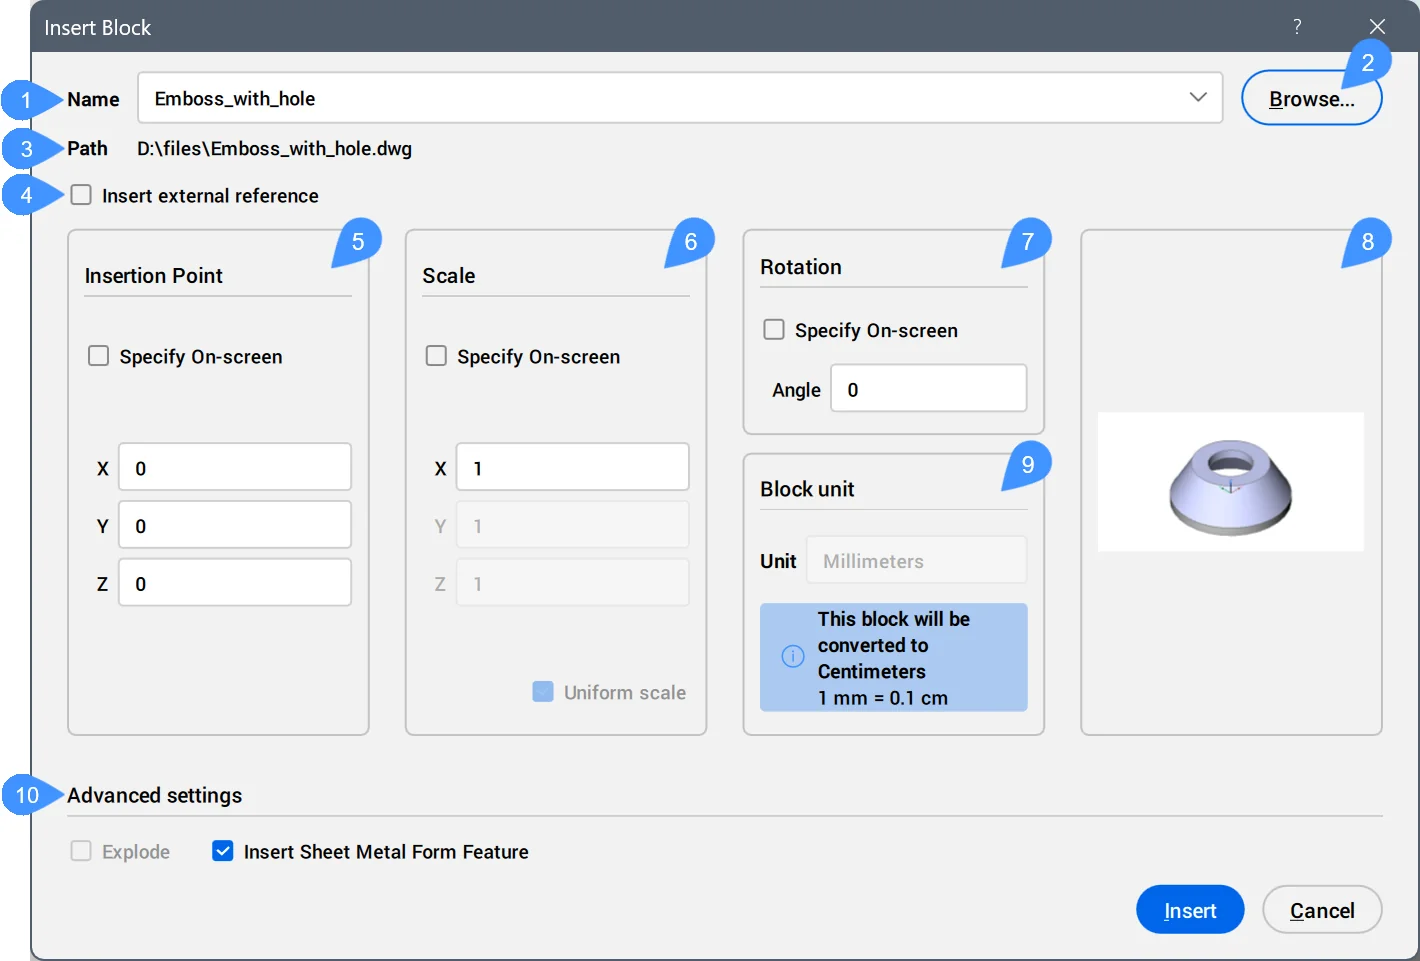
For a project drawing that already exists, INSERT is the quickest route: Browse to the DXF, set the insertion point, and check that Block unit shows the conversion you expect. If your drawing has no units set, set them first with UNITS. Copying from the opened DXF with Ctrl+C and pasting into the project with Ctrl+V also works, and the time in each SCAN_ name keeps it from clashing with scans from other files.
What does the 2Dscanner DXF become in BricsCAD?
| In the DXF | In BricsCAD |
|---|---|
The 2DS_ layers | Layers with the same names, colours and contents |
Each scan, a block named SCAN_number_time | A block reference, selected with one click |
| Fitted lines and point polylines | Lines and polylines you can snap to |
| Orphan points | Points |
| Notes and stickers | Text and polylines on 2DS_NOTES |
| Photos and ERA1D measurements | Image references on 2DS_MEDIA, when the files sit next to the DXF |
What each 2DS_ layer holds is explained in our Scan to AutoCAD guide. Layers apply inside blocks as well, so freezing 2DS_POINTS once hides the points of every scan.
How do you work with the scan blocks?
Each scan is one block, so one click selects it and MOVE or ROTATE takes the whole scan with it. Its name, SCAN_number_time, is in the Properties panel.
To change something inside a scan, BricsCAD gives you two ways that keep the scan one block. BEDIT opens the Block Editor, and REFEDIT edits the scan in place in the drawing, until you close it with REFCLOSE. When the system variable DBLCLKEDIT is on, a double-click on the scan opens these editors too. EXPLODE also works, but the scan stops being one object.
Cleaning up points is faster in the Editor, where you delete points directly and the fitted lines are redrawn, as the File Menu page explains. Then export again.
Joining scans. Do it in the app or the Editor when you can, since they align on corners, stickers or two straight lines. If two scans reach BricsCAD separately, use ALIGN on two points that both scans can see.
How do you draw the walls over the scan?
Draw on your own layer and keep the scan as a reference. The scan measured the inside face of each room, so put the face of each wall on the measured line and let the thickness grow outwards. How far BricsCAD helps depends on the edition:
- Lite: draw lines or polylines snapping to the endpoints of
2DS_LINES, thenOFFSETthem by the wall thickness. - Pro:
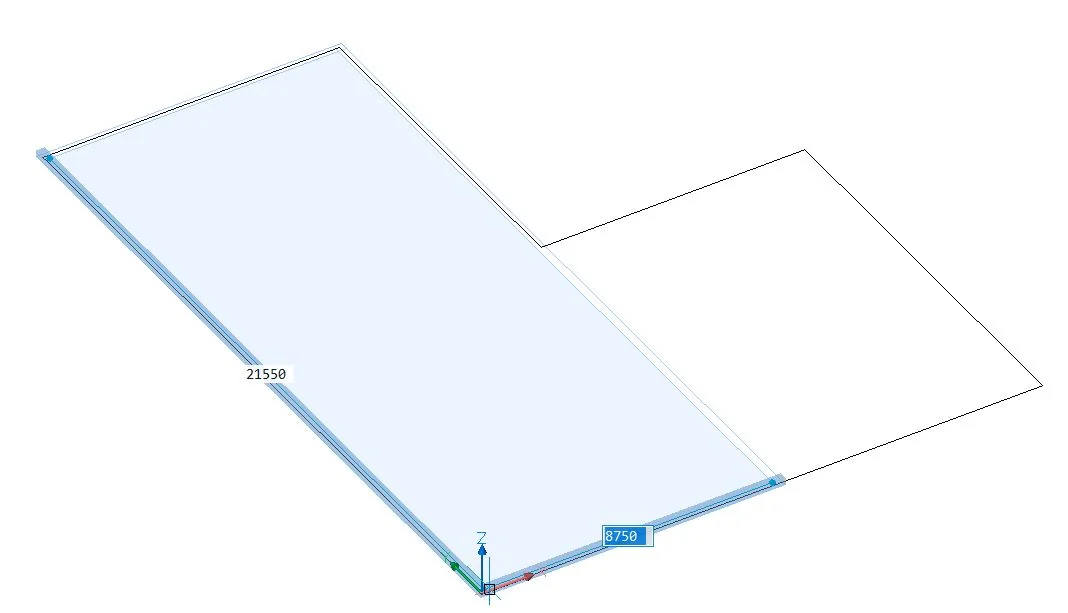
POLYSOLIDwith the Entity option turns a line or polyline into a 3D wall. Set the height and width first, and cycle the justification (Left, Center, Right) withCtrlso the wall sits on the correct side of the line. Scan lines are separate segments, so you get one wall per line; tracing your own polyline over the scan first gives you one continuous wall. - BIM:
BIMWALLwith Snap to lines places walls along existing lines, and on double lines it adopts their distance as the wall thickness. The Quickdraw tool also snaps to the lines of a 2D drawing.
Between two scanned rooms you do not need to guess the wall thickness: the gap between the lines of the two scans is the real thickness. Windows and doors measured with the ERA1D are already on 2DS_OPENINGS, at their real position and width.
Do not run OPTIMIZE on the scan. With Rectify lines it straightens lines that are almost horizontal or vertical. On a design drawing that helps; on a survey it hides the real angle of a wall. If you want the plan square to the axes, rotate it as a whole.
Why does the import look wrong?
| What you see | Likely cause | Fix |
|---|---|---|
| Empty screen after opening | The view is not on the drawing | ZOOM, E |
| Inserted plan is 10, 100 or 1000 times too big or too small | The units of your drawing do not match, or are not set | Set the drawing units with UNITS and insert again, checking Block unit |
| Room is small even after Zoom Extents | A few long shots through a door or window stretch the drawing | Zoom in on the room. To drop the far points before export, use Ignore Long Shots, in the app while scanning or in the Editor |
| Drawing is crowded or slow | All the layers are on, with thousands of vertices | Freeze 2DS_POINTS and 2DS_SIGNAL |
| Photos are missing | The image files are not next to the DXF, or the file is open in another program | Unzip the whole export into one folder, close it elsewhere and open it again |
| XATTACH does not list the DXF | XATTACH is documented for DWG files | Save the DXF as DWG and attach that, or use INSERT |
FAQ
Is BricsCAD Lite enough?
Yes, for everything in 2D: opening the DXF, layers, blocks, tracing and dimensions. You need Pro for POLYSOLID walls and BIM for BIMWALL and Quickdraw.
Does it work on Mac and Linux?
Yes. BricsCAD runs on Windows, macOS and Linux, and it opens the same DXF with the same commands.
Can I dimension straight from the scan lines?
Yes. Snap to the ends of 2DS_LINES with DIMLINEAR or DIMALIGNED.
How accurate are the walls I draw?
As accurate as the lines you snap to. The combined accuracy of the 2Dscanner is ±2 mm within a 7 m radius, on walls the laser meets at more than 34°.
Do the guides for other programs differ?
Only in the import step and the wall tools. See our guides for AutoCAD, SketchUp, Revit, Archicad and ZWCAD, progeCAD and DraftSight.
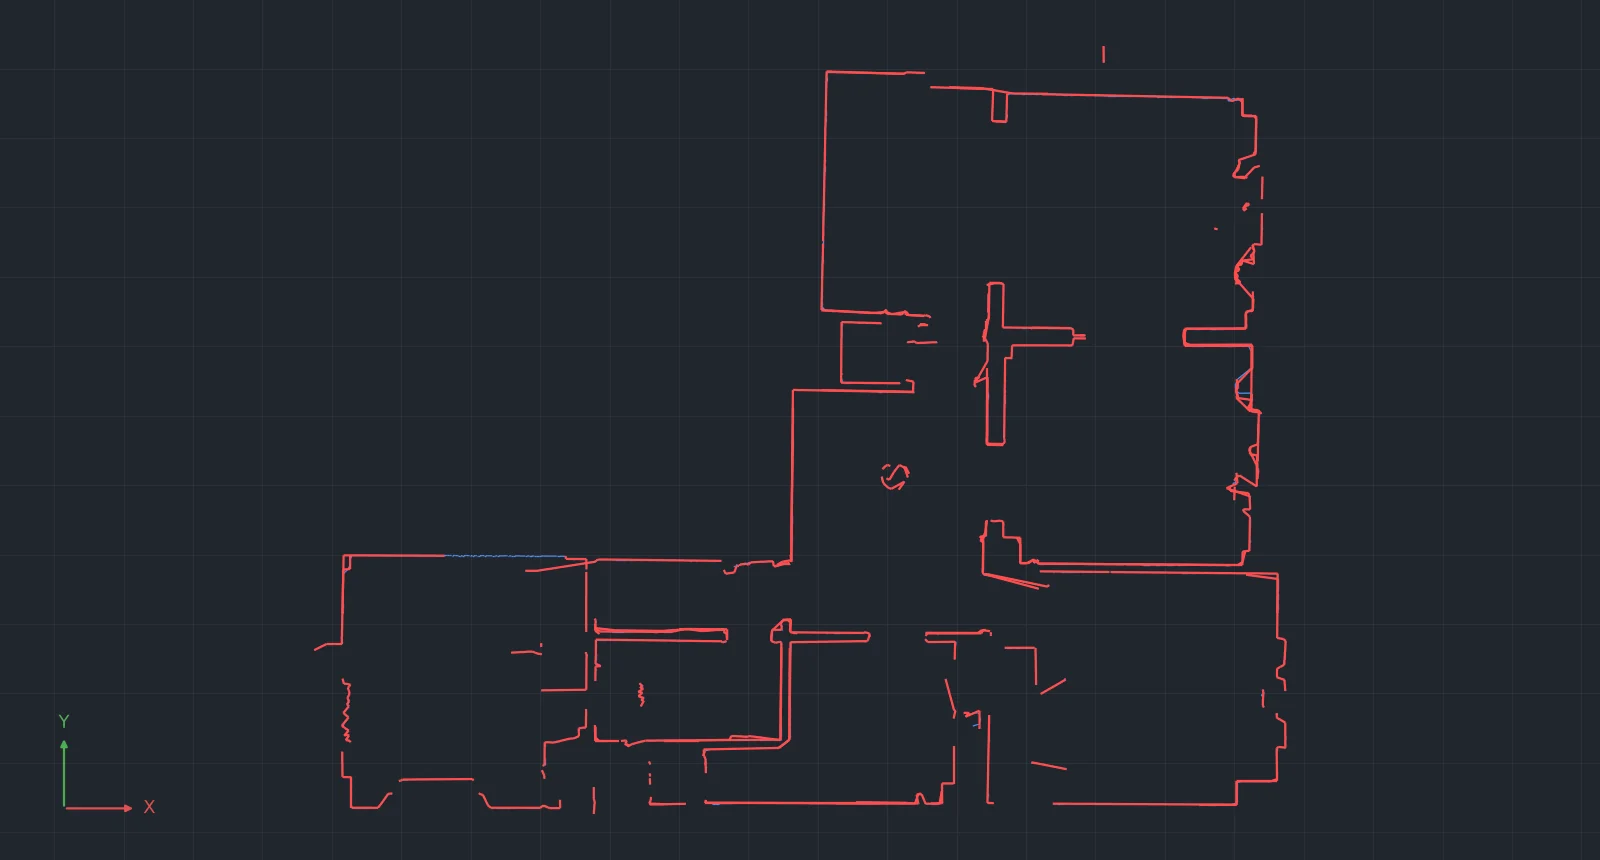
Try it yourself: download the sample 2Dscanner DXF (ZIP, the plan at the top of this page) and import the DXF into BricsCAD with the steps above.
The plan on this page was measured with the 2Dscanner EVO. One scan takes about four minutes and gives you the room as a DXF that BricsCAD opens at real size. No tape, no diagonals, no redrawing from a sketch, and no subscription.
If you want to stop measuring by hand, see the 2Dscanner EVO and what comes with it.
For every setting of the 2DscannerPro App and the Editor, step by step, see the 2Dscanner help pages.