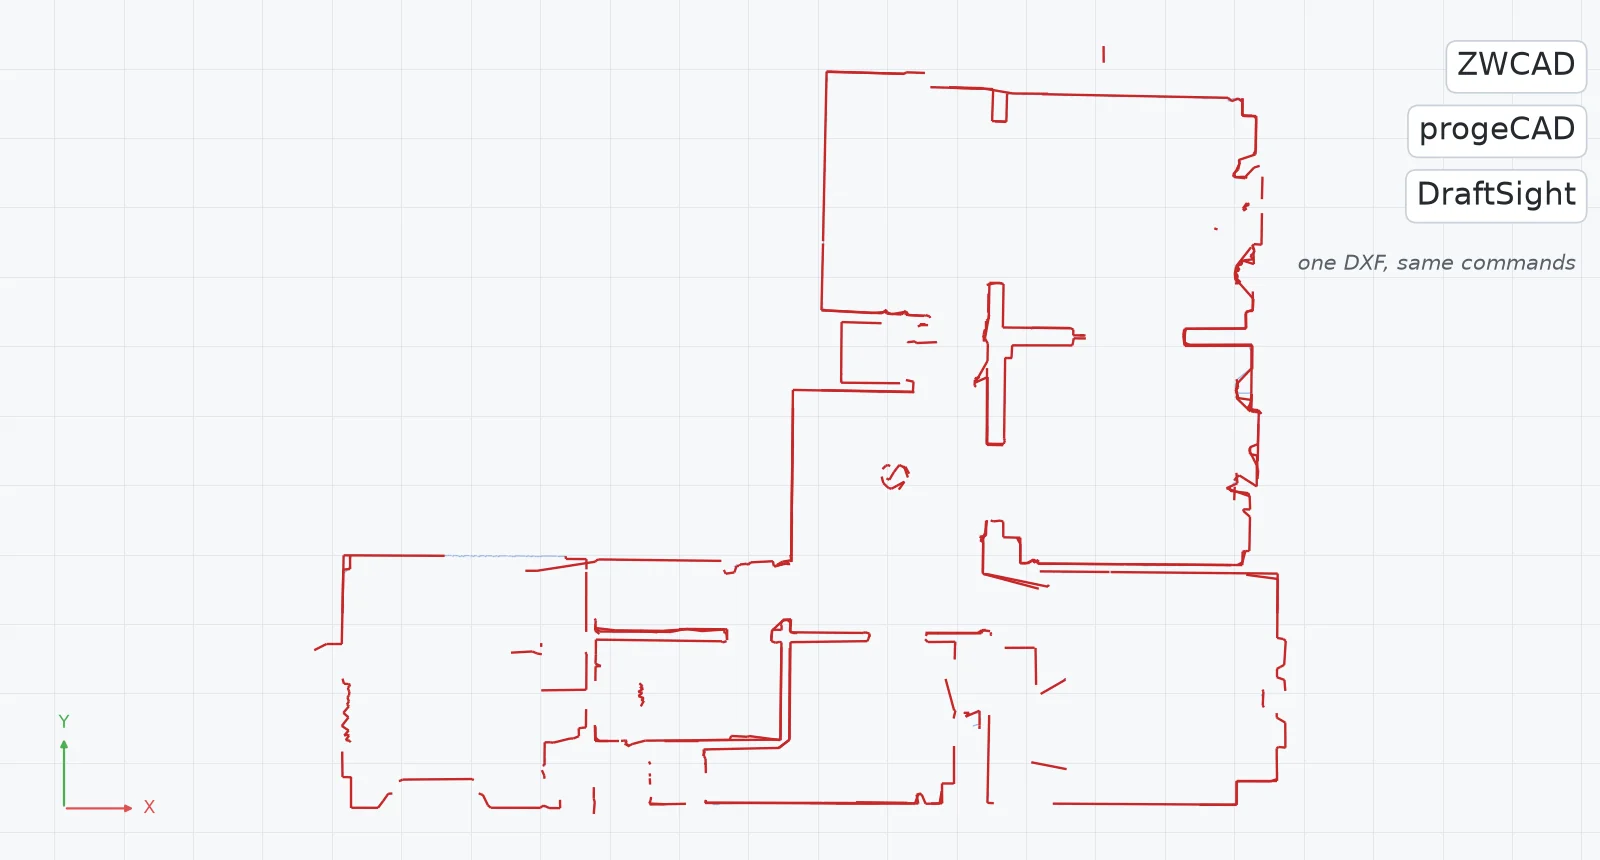
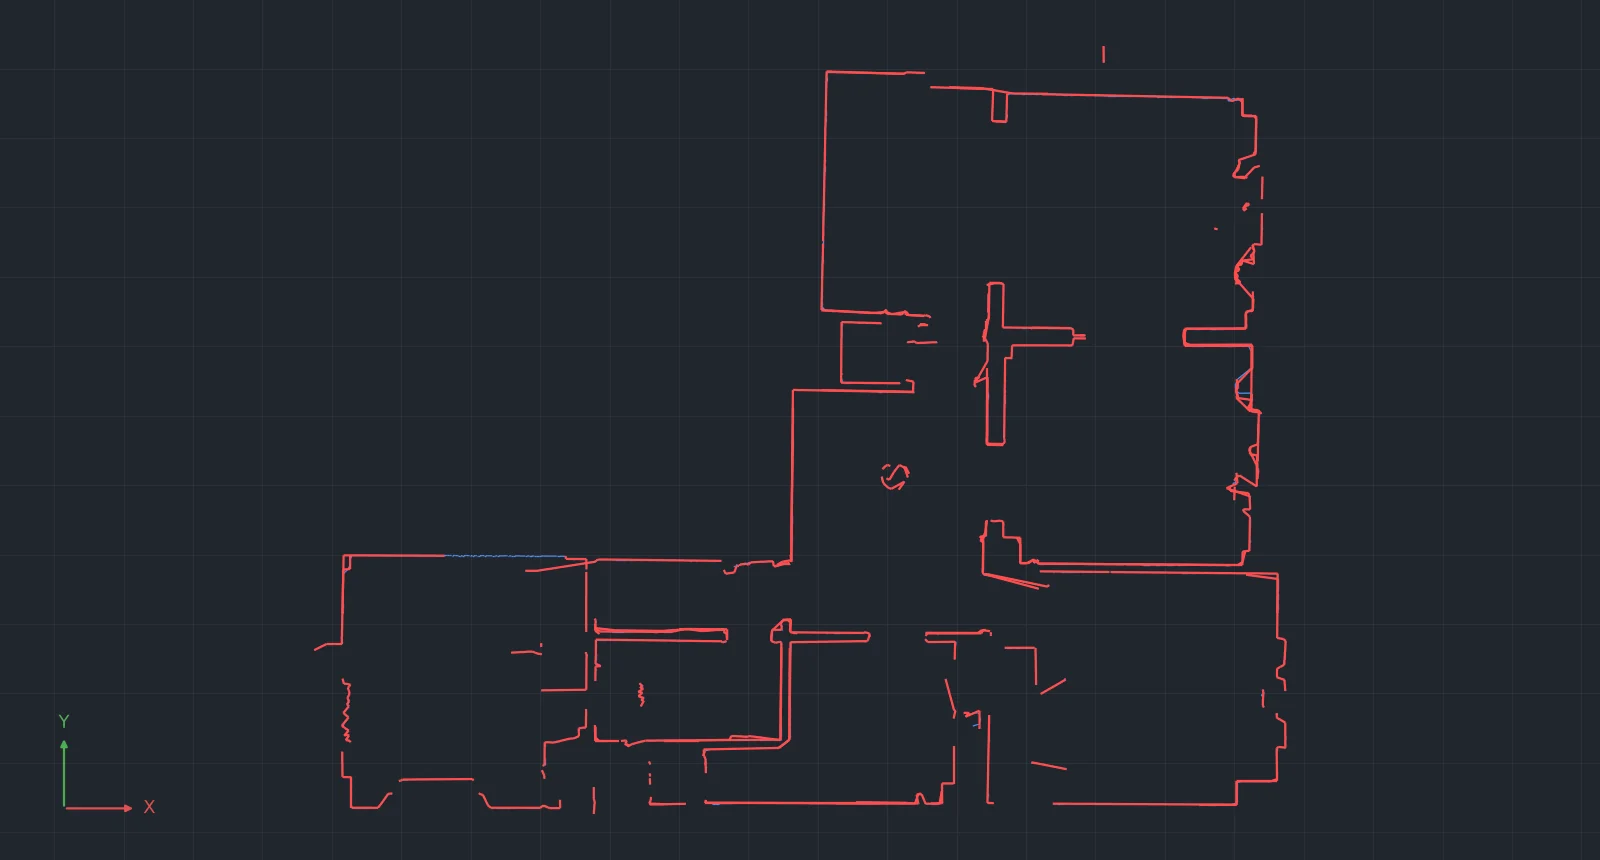
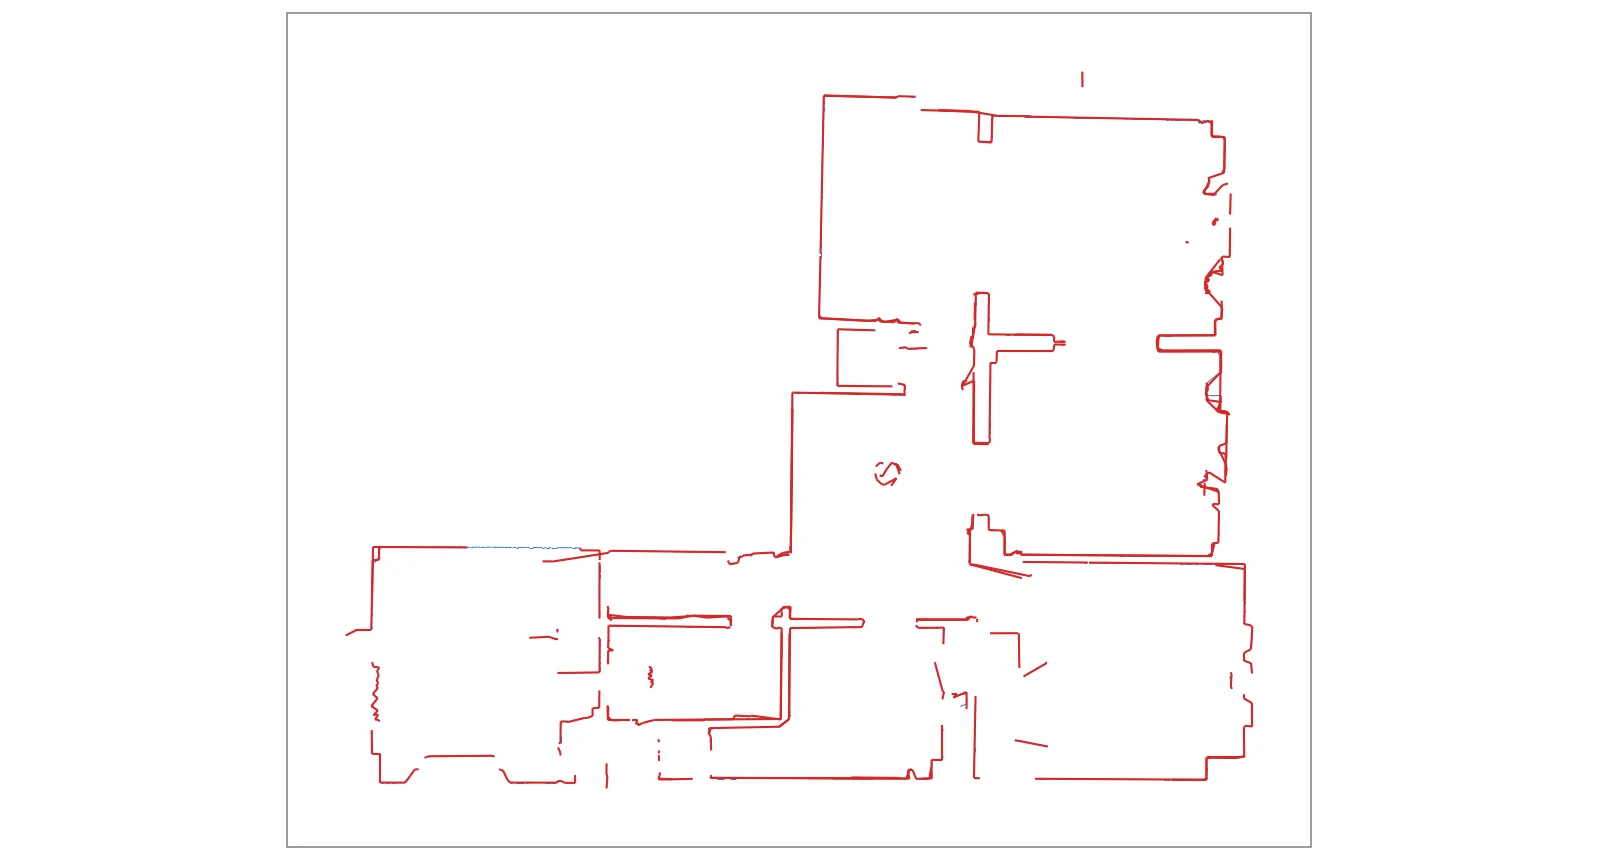
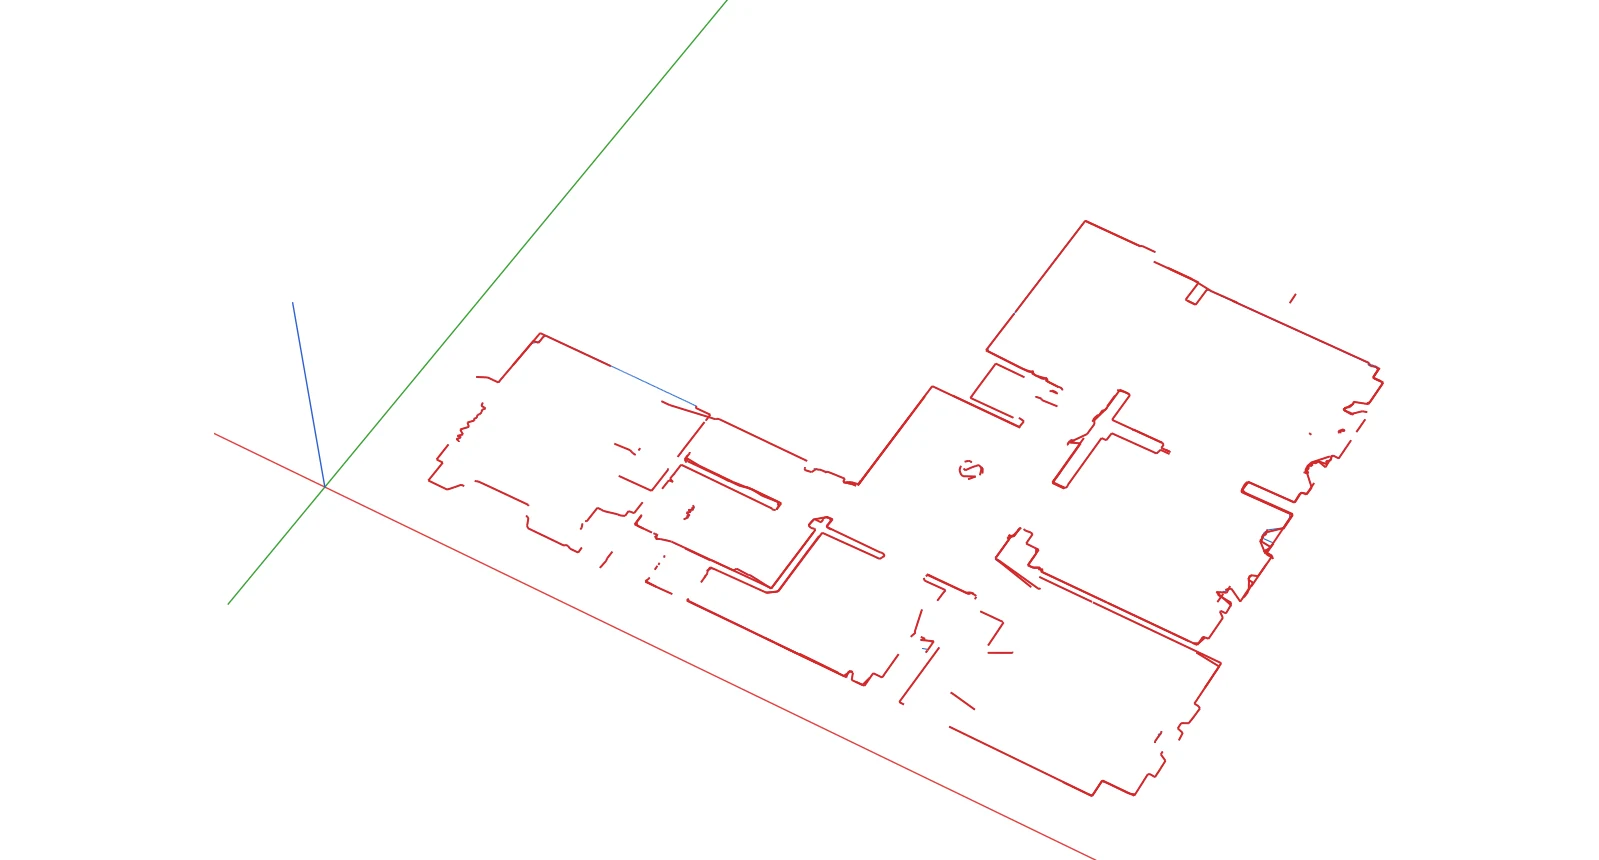
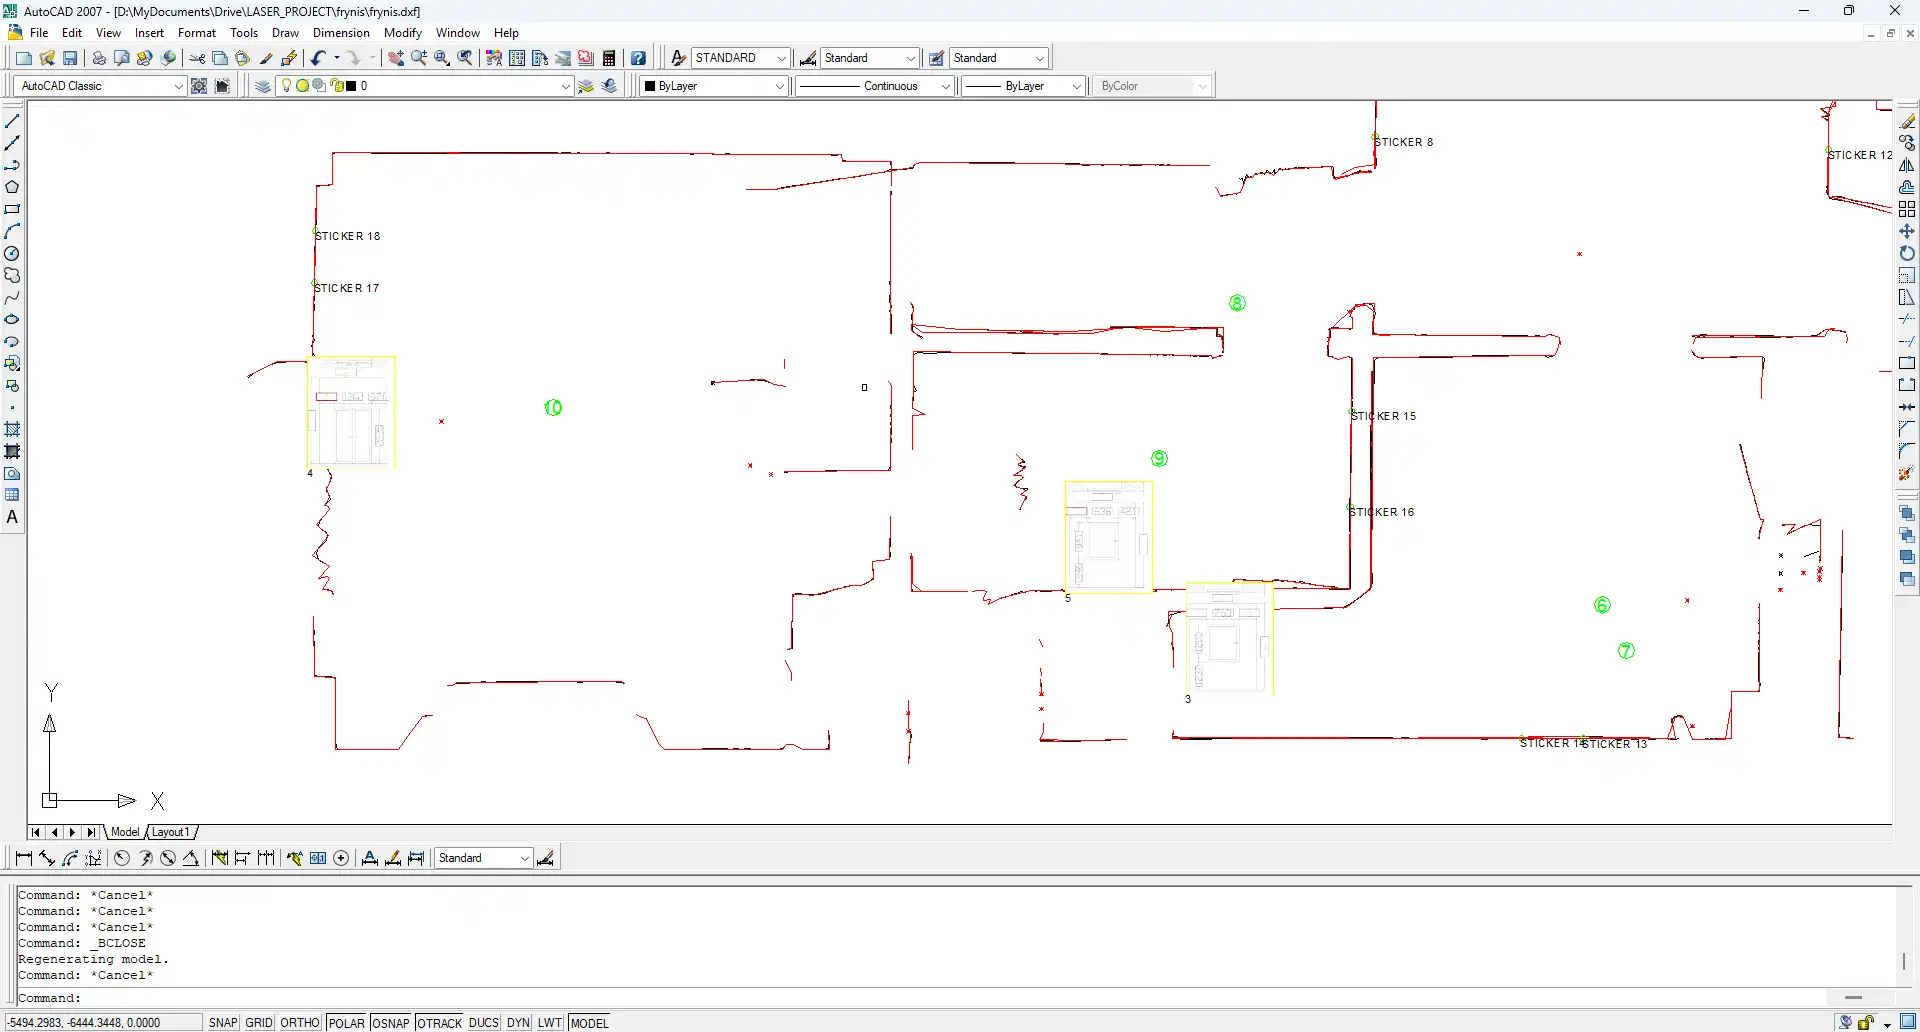
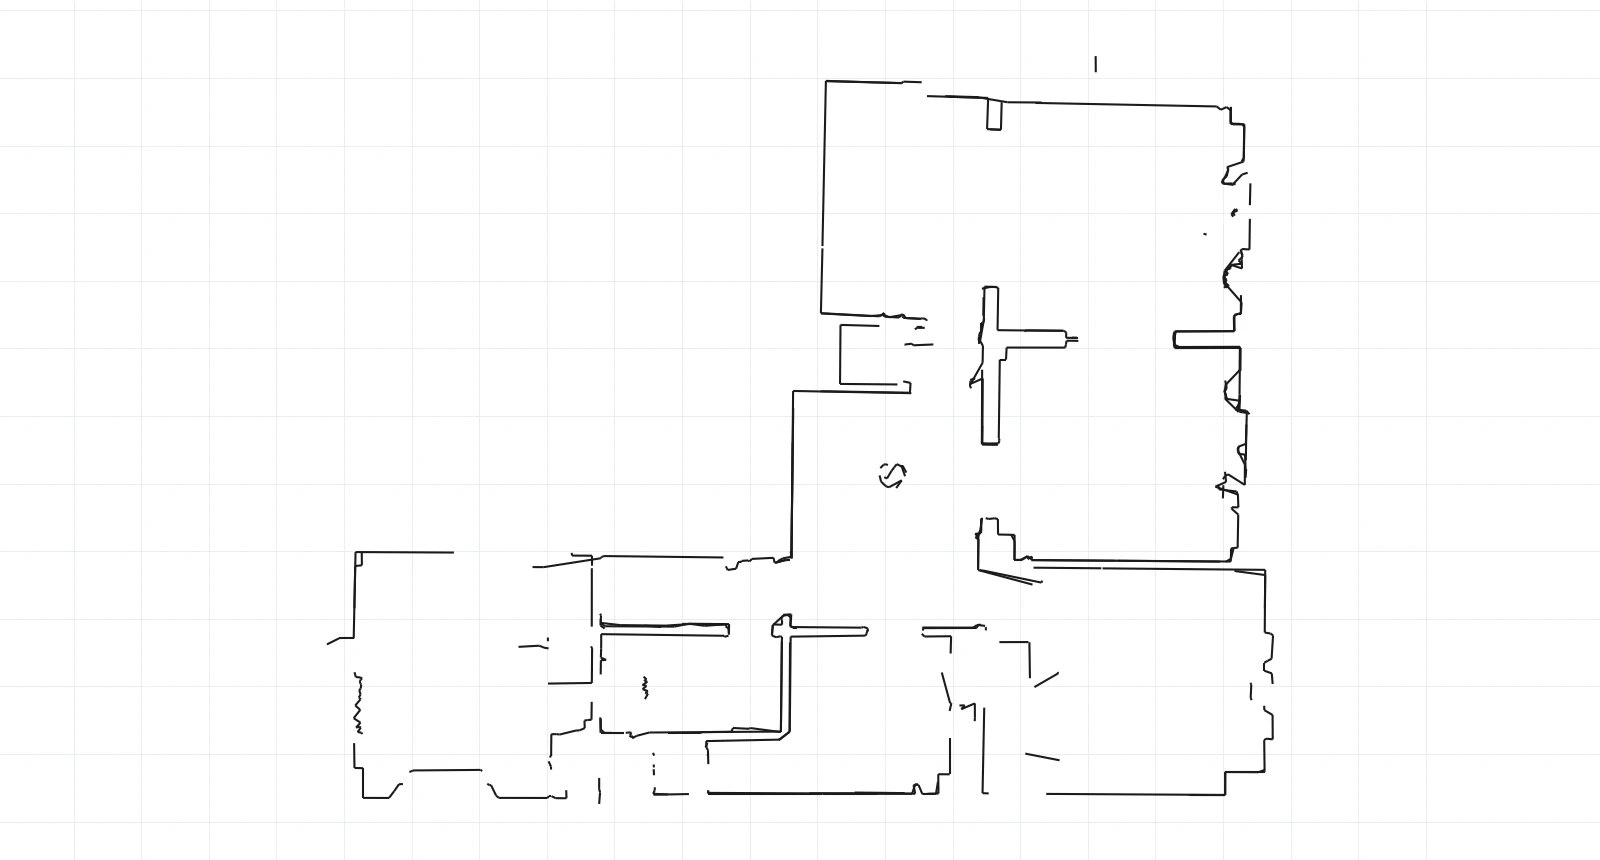
To import a DXF into Archicad, open the floor plan of the story and use File > Interoperability > Merge, or File > External Content > Attach XREF if you want the scan to stay linked to its file. Archicad can read the unit stored in the 2Dscanner DXF, and you trace your walls over the scan lines.
The work on site and the other export files are covered in our 2D scanner for CAD guide. This page starts when the DXF is on your computer and ends with Archicad walls on the measured lines.
Merge or attach as XREF?
| Merge | Attach XREF | |
|---|---|---|
| What you get | Archicad lines, polylines and text on the 2DS_ layers | A reference to the DXF file, shown on the floor plan |
| Each scan | A group, if blocks are translated as Grouped 2D Elements | Stays inside the XREF |
| After you clean the scan again in the Editor | Delete and merge again | Reload the XREF |
| Best for | Drawing walls on the scan lines | Keeping the survey untouched as a linked reference |
Both show the scan at real size on the story you choose, and you can snap to every line.
How do you import a DXF into Archicad, step by step?
- Open the floor plan of the story you are drawing.
- Start the import. File > Interoperability > Merge > From File, or File > External Content > Attach XREF, and choose the DXF.
- For Merge, choose Merge content of Model space into current View.
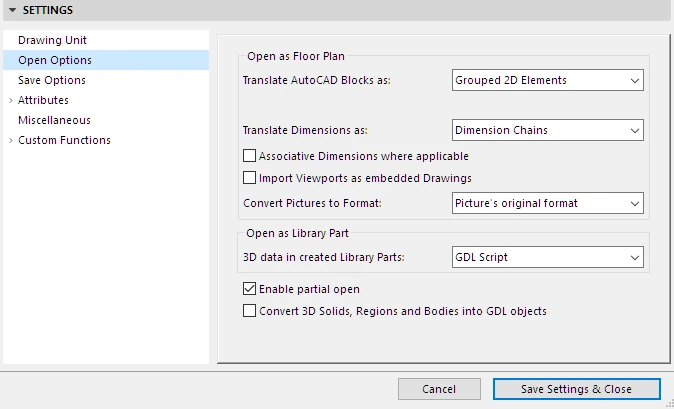
- Pick a translator, for example one of the editable import translators, and click Settings to check three things in it:
- Drawing Unit: tick Prefer Drawing Unit definition in DXF/DWG file. The 2Dscanner DXF stores its unit, so Archicad uses it. If your plan still comes in 10, 100 or 1000 times off, untick it and choose the unit you exported in.
- Open Options > Translate AutoCAD Blocks as: Grouped 2D Elements, so each scan arrives as one group you select with one click.
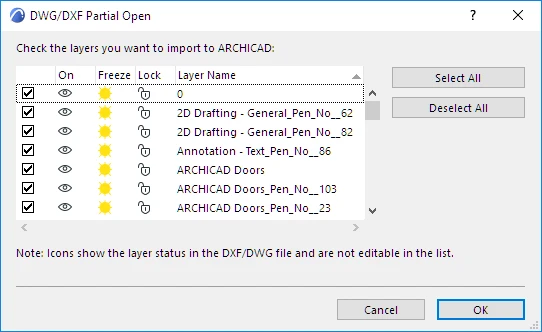
- Open Options > Enable partial open: tick it to choose which
2DS_layers come in.
- Open or attach the file. In the Partial Open list, keep
2DS_LINES,2DS_OPENINGSand2DS_NOTESand untick the rest. - Check one wall with the Measure tool against a length you know.
The plan is easier to work with if a wall already runs along the X or Y axis. The app and the Editor can both rotate the plan that way before export.
What does the 2Dscanner DXF become in Archicad?
| In the DXF | In Archicad |
|---|---|
The 2DS_ layers | Archicad layers with the same names, which you show, hide or lock in the Layer Settings |
Each scan, a block named SCAN_number_time | With Merge: a group, 2D elements or a library part, depending on the translator. With XREF: part of the reference. |
| Fitted lines and point polylines | Lines and polylines you can snap to |
| Notes | Text and lines |
| Photos and ERA1D measurements | Pictures, converted with the translator’s picture setting |
What each 2DS_ layer holds is explained in our Scan to AutoCAD guide. Lock the 2DS_ layers before you draw: a locked layer cannot be moved by accident, and you can still snap to it.
How do you draw the walls over the scan?
Users draw their own walls over the scan and keep the scan as a reference. In Archicad:
- Set the Wall tool’s reference line to the inside face. The scan measured the inside face of each room, so the wall face sits on the measured line and the thickness grows outwards.
- Draw each wall on the scan. With the Wall tool active, click the corners of
2DS_LINESone after the other: Archicad draws the wall straight away, with no line to draw first. Where a scan line runs unbroken along a whole wall, the Magic Wand can be quicker: hold the spacebar and click the line, and Archicad places a wall along it. Scan lines are often broken at doors, furniture or gaps in the points, and there the Magic Wand gives only short pieces, so click the corners yourself. - Close the corners where the scan has gaps at doors or furniture.
Between two scanned rooms you do not need to guess the wall thickness: the gap between the lines of the two scans is the real thickness. Windows and doors measured with the ERA1D are already on 2DS_OPENINGS, at their real position and width, ready for placing Archicad doors and windows.
What about the CSV file?
The app also exports a CSV: one line per scanned point, in the form number;X;Y;0, in the unit chosen in the app. It is plain text in the layout Archicad reads in File > Interoperability > Place Mesh from Surveyors Data. Archicad turns it into a flat mesh with the scanned points as its corners. Use it only if you want the raw points without lines; for drawing walls, the DXF with its fitted lines is the better start.
Why does the import look wrong?
| What you see | Likely cause | Fix |
|---|---|---|
| Plan is 10, 100 or 1000 times too big or too small | The translator’s Drawing Unit does not match the export | Tick Prefer Drawing Unit definition in DXF/DWG file, or set the unit you exported in |
| Nothing visible after the import | The plan landed far from the project origin, or its layers are hidden | Fit in Window, and check the 2DS_ layers in the Layer Settings |
| Each line is a separate element | Blocks were translated as 2D Elements | Merge again with Grouped 2D Elements |
| Room is small even after Fit in Window | A few long shots through a door or window stretch the drawing | Zoom in on the room. To drop the far points before export, use Ignore Long Shots, in the app while scanning or in the Editor |
| Project is slow | Thousands of short segments from the point polylines | Leave 2DS_POINTS out in the Partial Open list |
Cleaning up points is faster in the Editor, where you delete points directly and the fitted lines are redrawn, as the File Menu page explains.
FAQ
Does this work in Archicad on Mac?
Yes. The DXF-DWG add-on, the translators and the commands are the same on Mac and Windows.
Can I place the scan in Teamwork projects?
Yes. Put the DXF, and a shared translator, in a folder every team member can reach.
Can I use the scan as a Trace Reference?
Yes. Create an Independent Worksheet in the Navigator, place the DXF in it with the Drawing tool, then right-click the worksheet and choose Show as Trace Reference. On the floor plan the scan then shows under your walls as a trace, without becoming Archicad elements, and the Trace & Reference palette moves or hides it.
Why is the DXF-DWG Translator missing?
Archicad looks for each translator at a stored path, and after an update or a move to a new computer that path may no longer exist. Open File > Interoperability > DXF-DWG > DXF-DWG Translation Setup (or the Settings button of the Open or Merge dialog), select the missing translator and use Browse to point to its XML file. The translators that come with Archicad are in the Defaults folder of the Archicad program.
How accurate are the walls I draw?
As accurate as the lines you snap to. The combined accuracy of the 2Dscanner is ±2 mm within a 7 m radius, on walls the laser meets at more than 34°.
Do the guides for other programs differ?
Only in the import step and the wall tools. See our guides for AutoCAD, SketchUp, Revit, BricsCAD and ZWCAD, progeCAD and DraftSight.
Try it yourself: download the sample 2Dscanner DXF (ZIP, the plan at the top of this page) and import the DXF into Archicad with the steps above.
The plan on this page was measured with the 2Dscanner EVO. One scan takes about four minutes and gives you the room as a DXF that Archicad merges at real size. No tape, no diagonals, no redrawing from a sketch, and no subscription.
If you want to stop measuring by hand, see the 2Dscanner EVO and what comes with it.
For every setting of the 2DscannerPro App and the Editor, step by step, see the 2Dscanner help pages.